

How to setup Serverless framework to deploy AWS Lambda, Queues and DynamoDB with Node.js
How to setup Serverless framework to deploy AWS Lambda, Queues and DynamoDB with Node.js
Setup serverless framework - Edition #28

Hey, I'm Marco and welcome to my newsletter!
As a software engineer, I created this newsletter to share my first-hand knowledge of the development world. Each topic we will explore will provide valuable insights, with the goal of inspiring and helping all of you on your journey.
In this episode, I show you how to configure all the tools you will need to use the Serverless framework with Node.js.
❓What is Serverless?
Serverless computing is a cloud computing model where the cloud provider dynamically manages the allocation and provisioning of servers. This allows developers to create and run applications without managing the underlying infrastructure.
This model introduces Function as a Service (FaaS), an event-driven execution approach. In FaaS, developers write functions that are deployed in containers fully managed by the cloud provider.
These containers are:
Stateless.
Triggered by specific events.
Fully managed by the cloud provider, with costs incurred only when functions are invoked.
It is a good fit for use cases that see infrequent or unpredictable surges in demand.
Cloud providers offering FaaS approach include:
Amazon Web Services with AWS Lambda.
Microsoft Azure with Azure Functions.
Google Cloud with Cloud Run and Cloud Functions.
IBM Cloud with IBM Cloud Functions.
Amazon Web Services
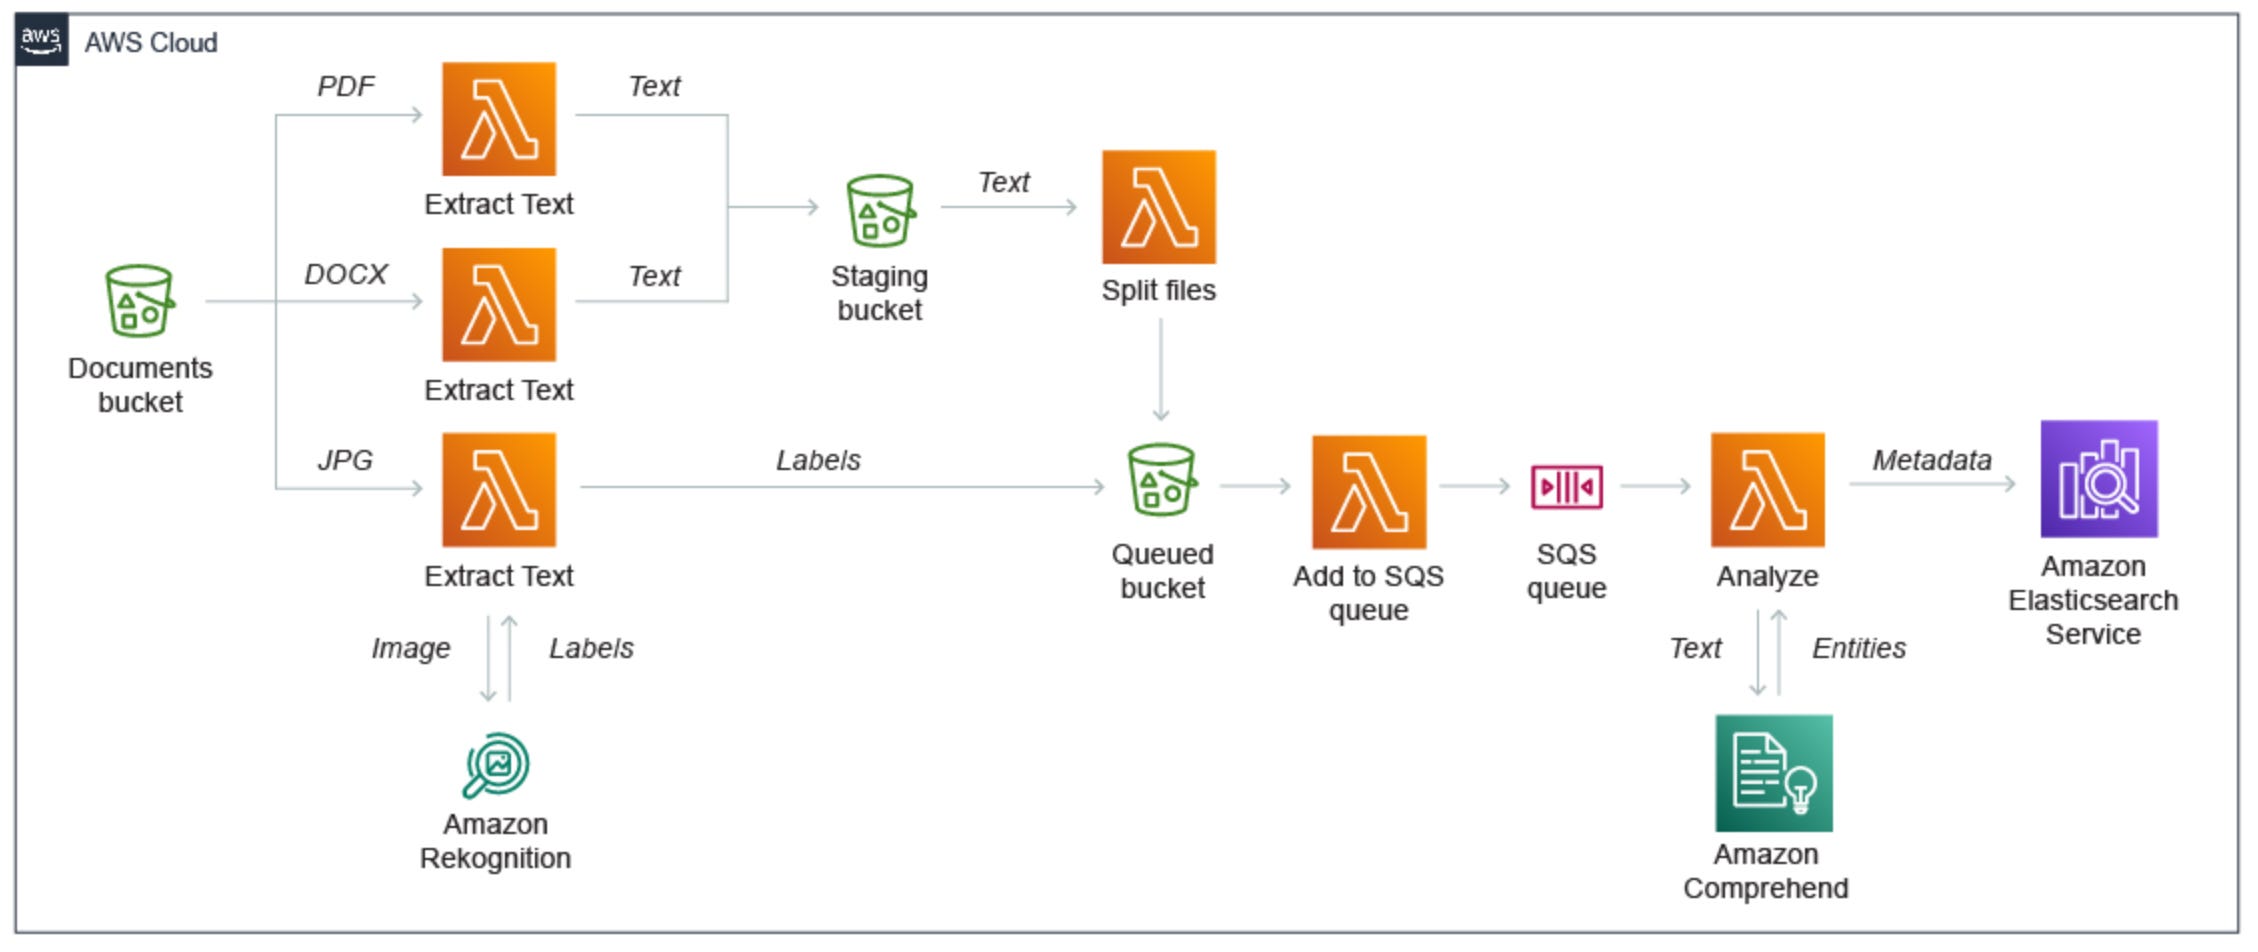
AWS Lambda is a key service in this model, allowing code to be executed in response to events, such as changes to data in an S3 bucket or updates to a DynamoDB table. This model offers automatic scalability, built-in high availability and a pay-as-you-go billing model, making it affordable and highly scalable.
Serverless framework
Serverless Framework is a powerful tool that enables developers to build and run applications without the need to manage servers. It allows developers to focus solely on writing code, while the framework handles the deployment, scaling, and maintenance of the application. This is achieved by utilizing cloud services from providers like AWS, Google Cloud, and Microsoft Azure.
Developers can define the infrastructure and resources their applications need using simple configuration files. When they deploy their applications, the framework automatically provisions the necessary resources and services in the cloud.
⚙️ Configuration
We are going to set up the environment to be able to deploy our functions using the AWS ecosystem, in particular AWS Lambda. We will need:
AWS account creation.
AWS CLI installation.
Node.js >= 18 installation.
Serverless framework CLI installation.
AWS CLI configuration via new IAM user.
AWS Free tier usage alerts activation.
AWS budget creation.
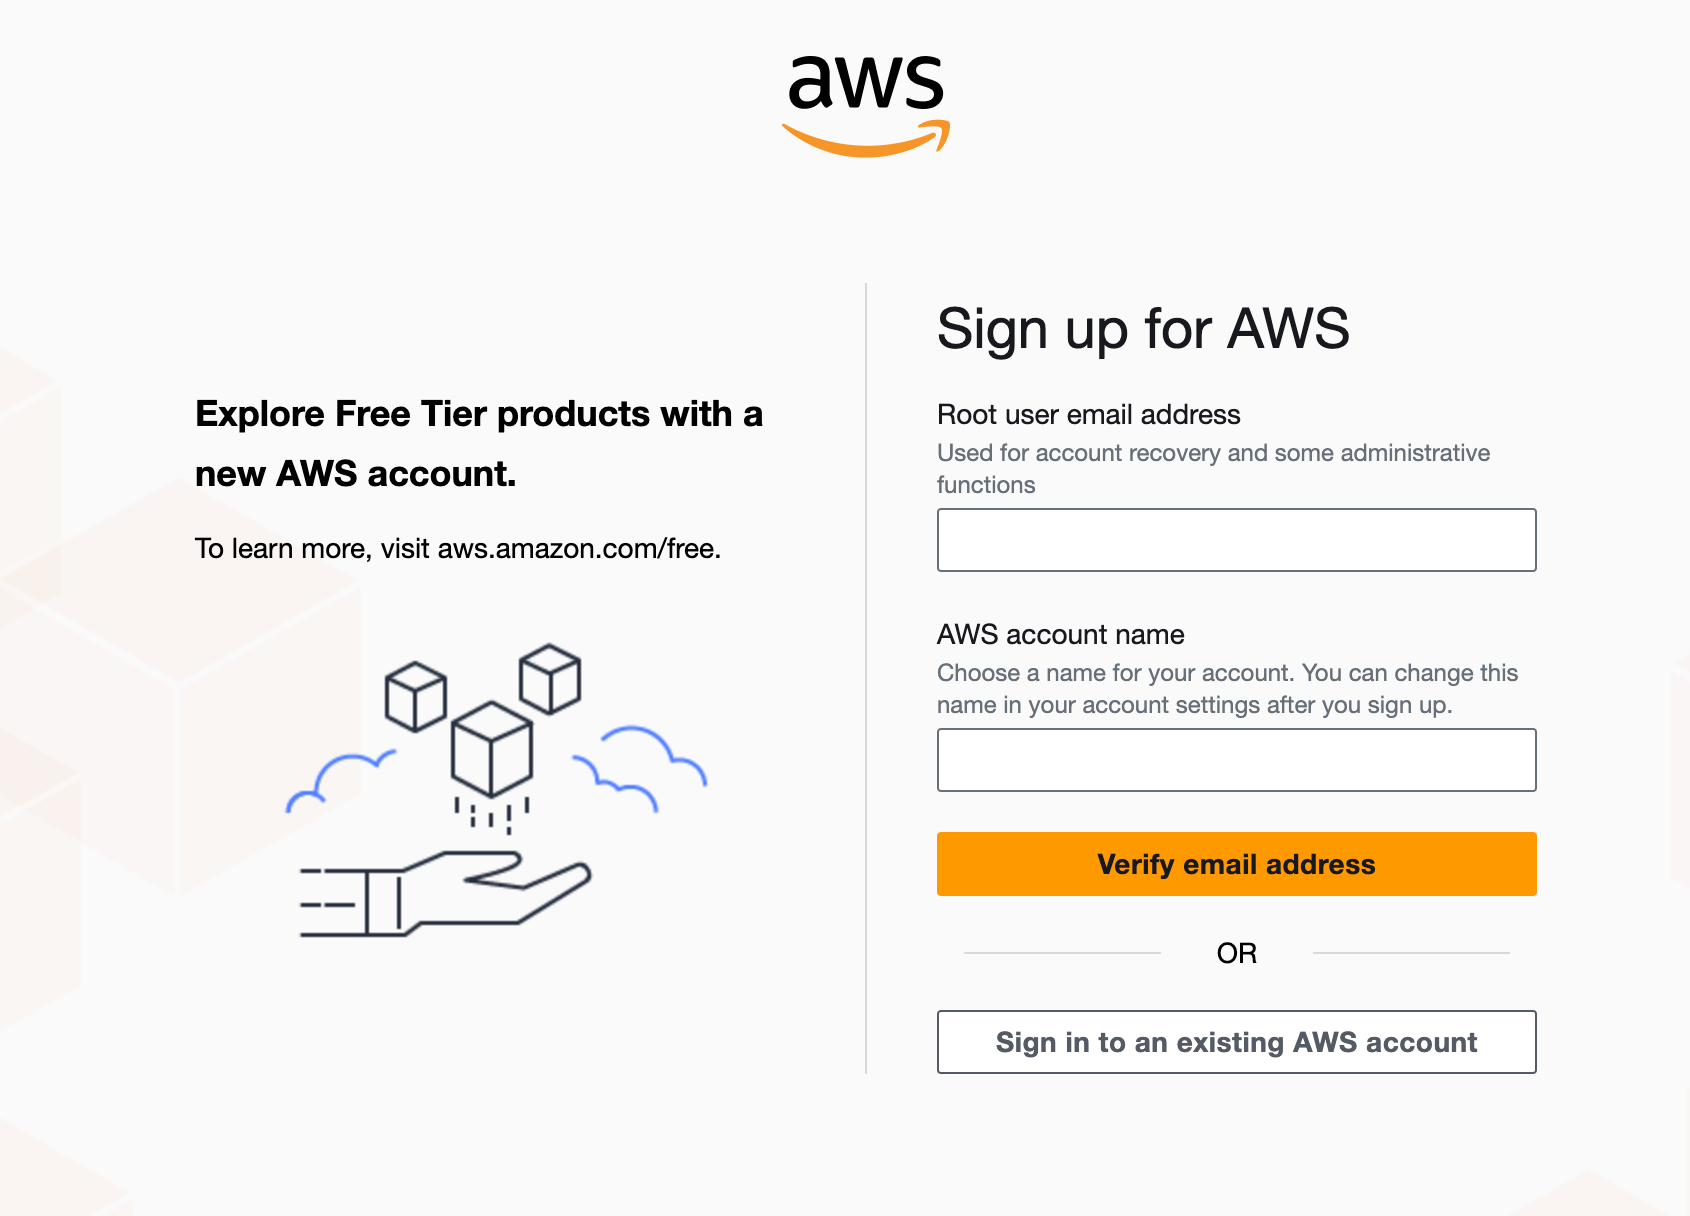
🛠️ AWS account creation
First, the creation of an AWS account is required, if you do not already have one, you can create one from here.
🛠️ AWS CLI installation
AWS CLI is required for the serverless framework to work properly, you can install it from here.
in my case, MacOS, I proceeded via the GUI Installer.
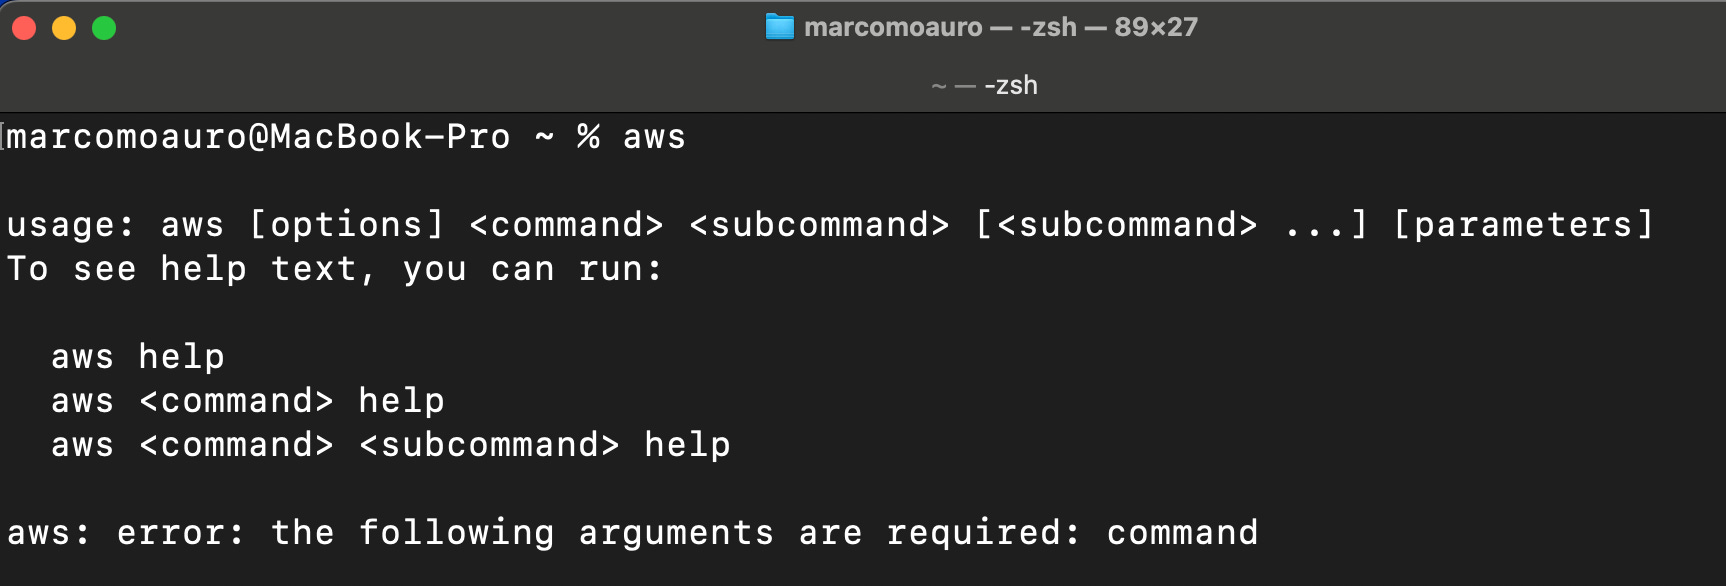
Once installed, you can test its operation by opening a new terminal and running the command:
awsif the output is as follows then the installation was successful.
⬇️ Node.js installation
Serverless framework V4 requires a Node.js version greater >= 18, we can proceed by installing v20 being the version currently supported by the community in terms of new features, security updates and bug fixes.
You can install it from here.
Once installed, you can test it by opening a new terminal and typing:
node —-version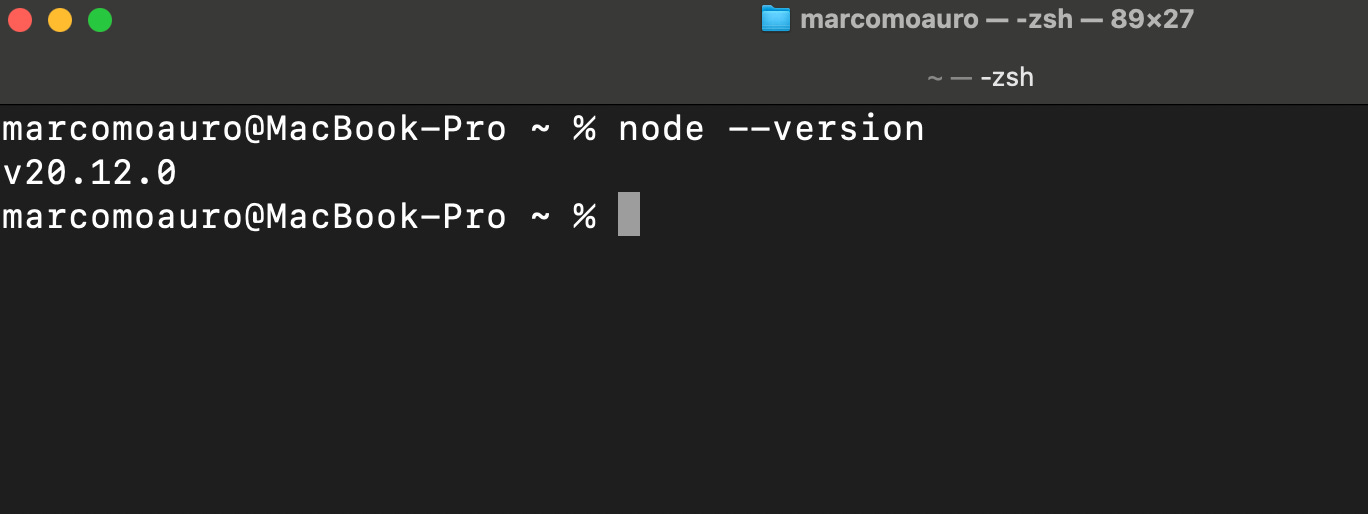
📦 Serverless framework CLI installation
Once Node.js is correctly configured, it is possible to install the serverless CLI via Node's package manager (NPM) in this way:
npm install -g serverlessWith the -g option we will install the package globally, so that we can use the CLI for each project.
Once installed, you can test it by typing:
sls —-version # or "serverless --version"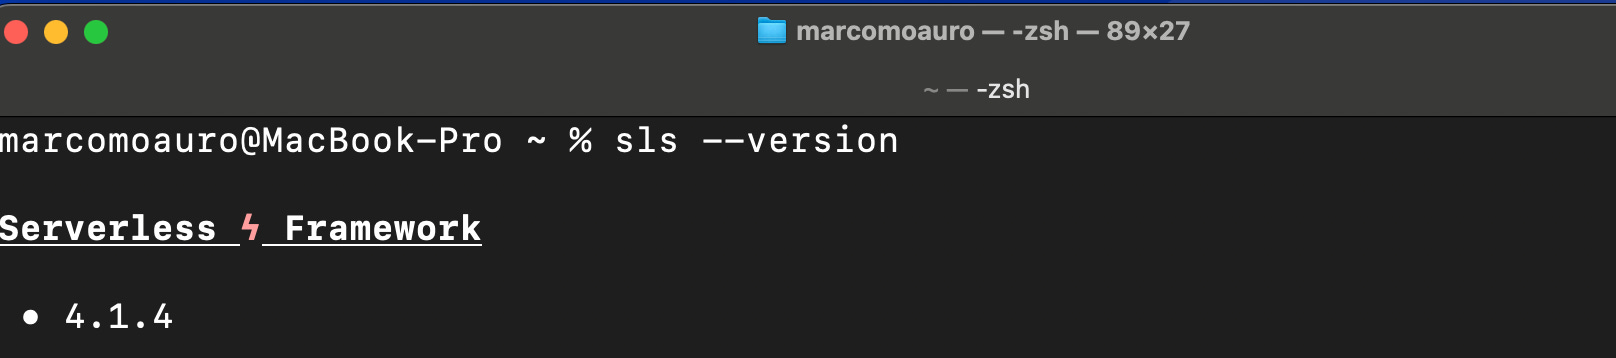
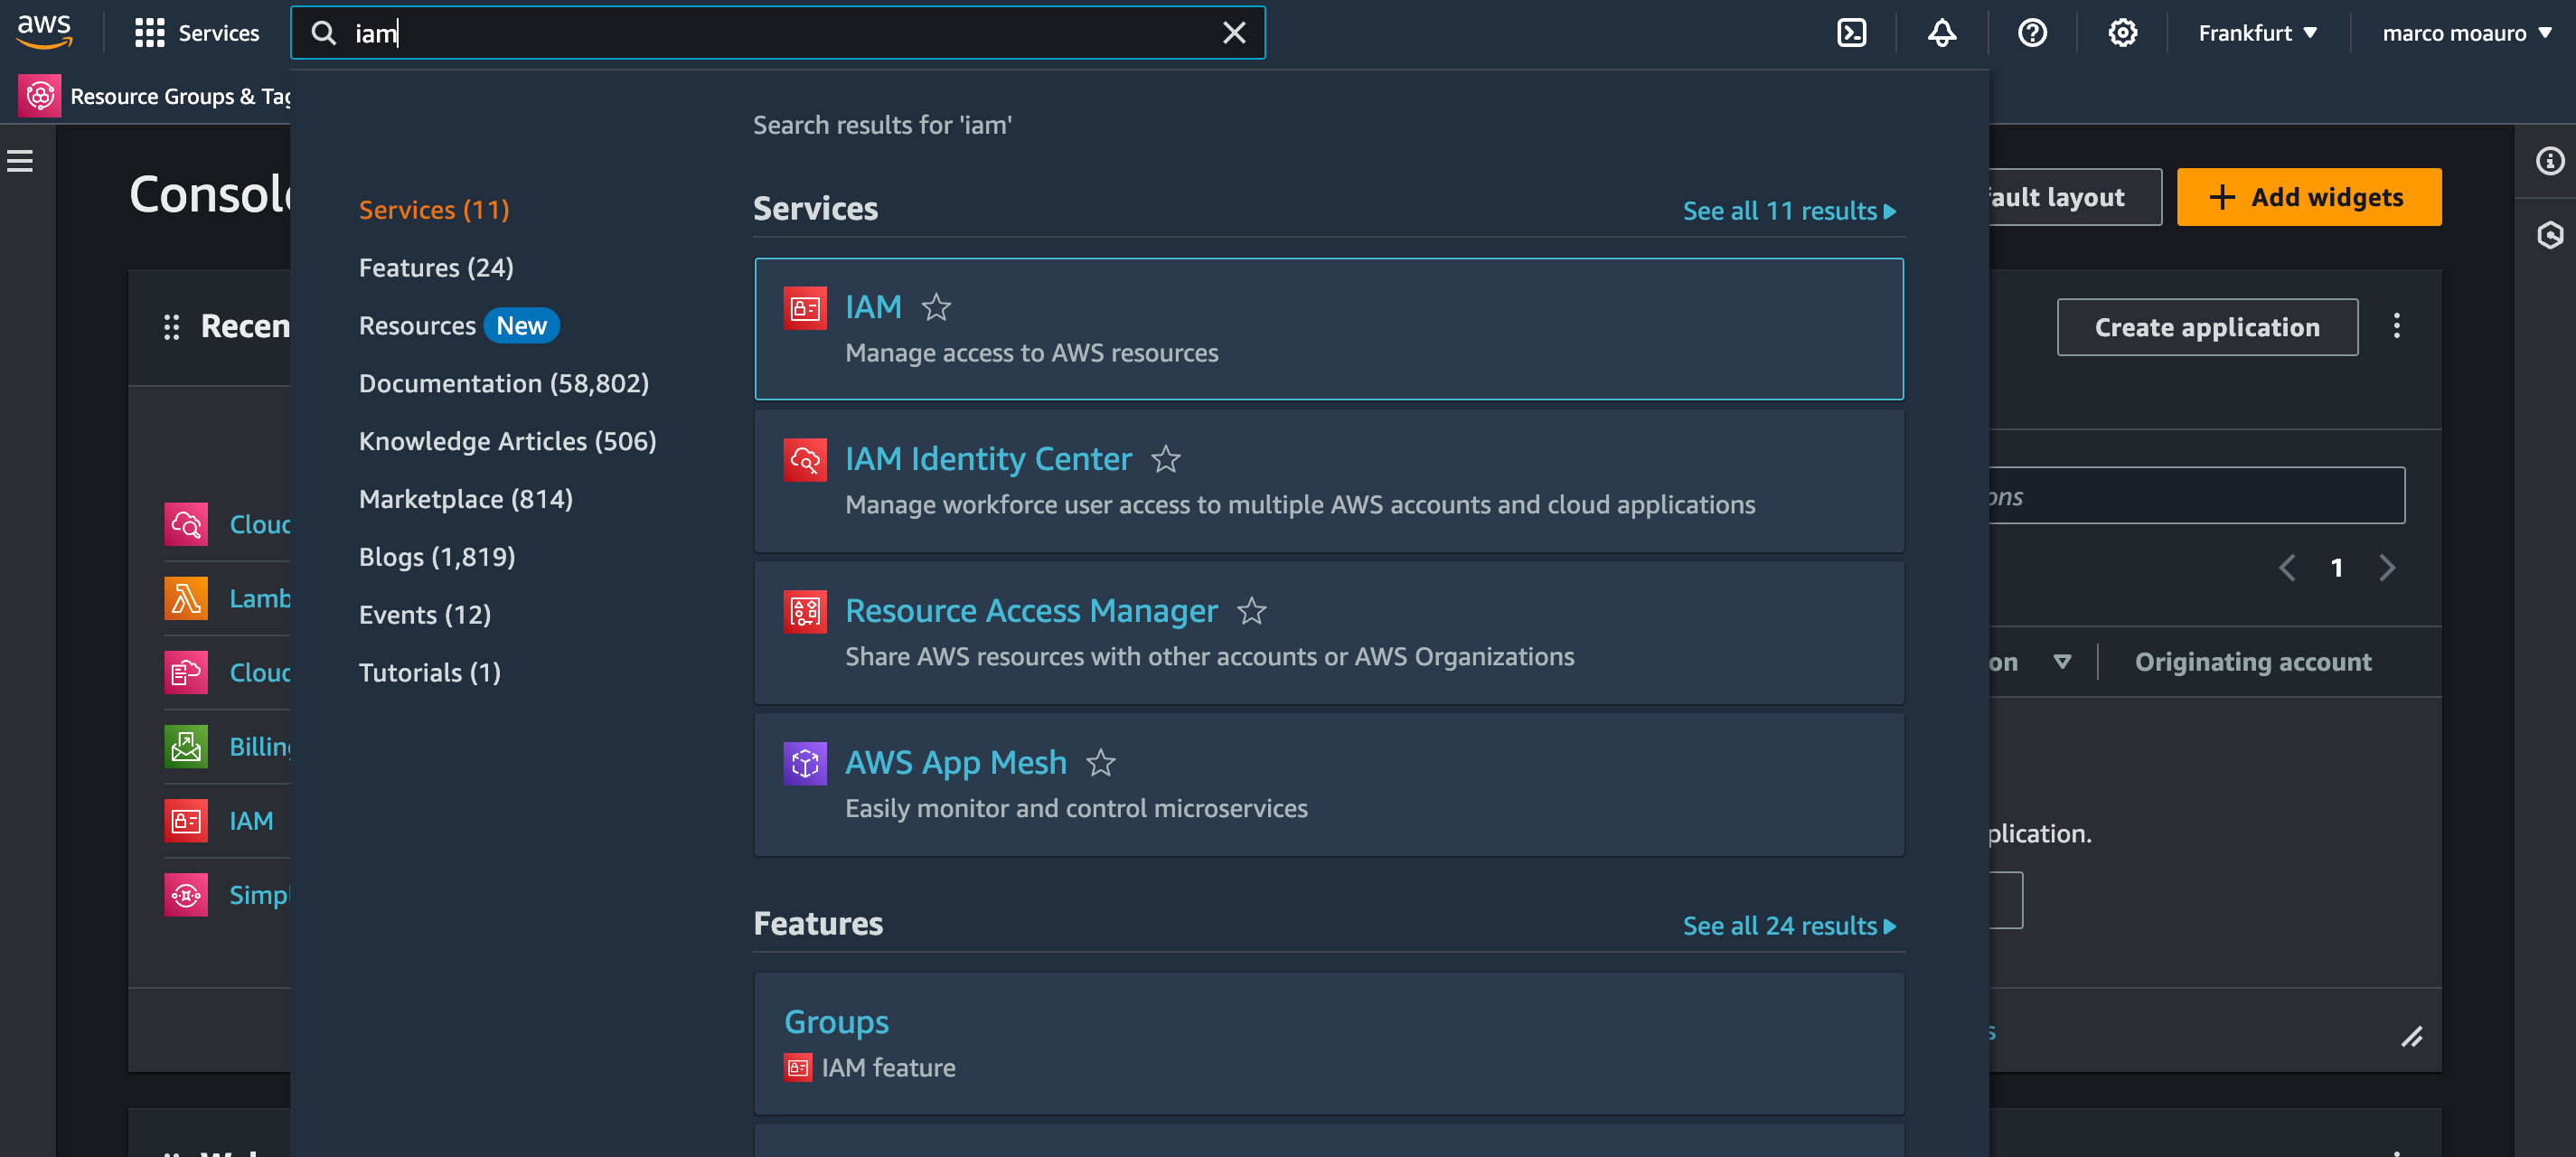
🔑 AWS CLI configuration via new IAM user
We now configure the AWS CLI we installed earlier.
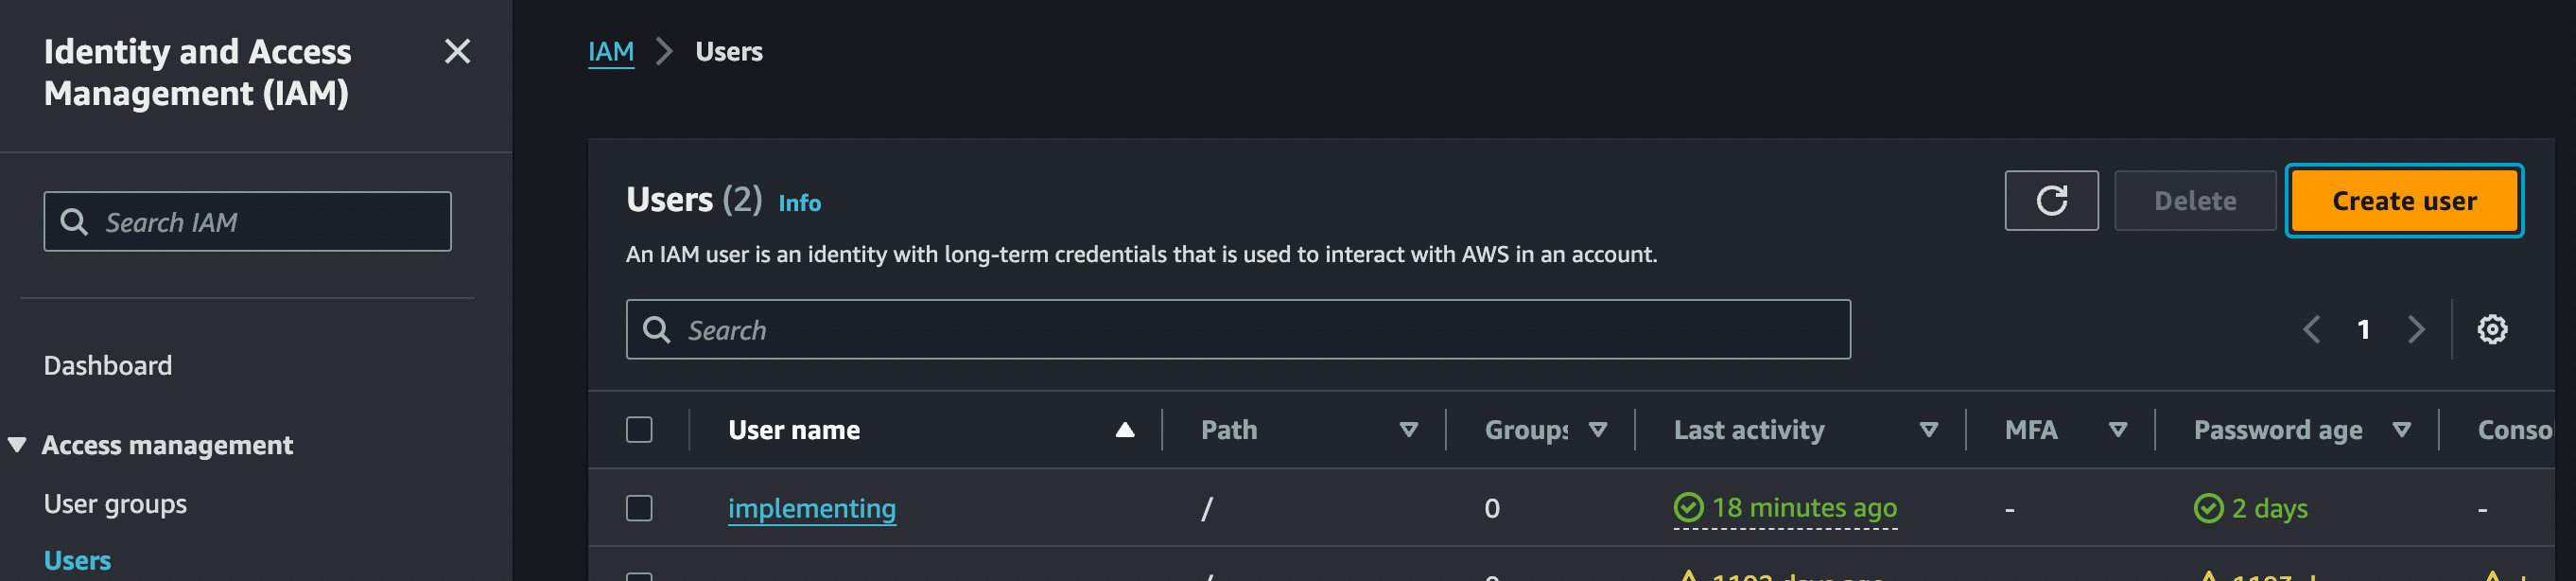
We access the IAM service which stands for Identity and Access Management, manages users and permissions.
click on Users in the sidebar and do Create User:
choose the user name, activate Provide user access to AWS Management Console and I want to create an IAM user.
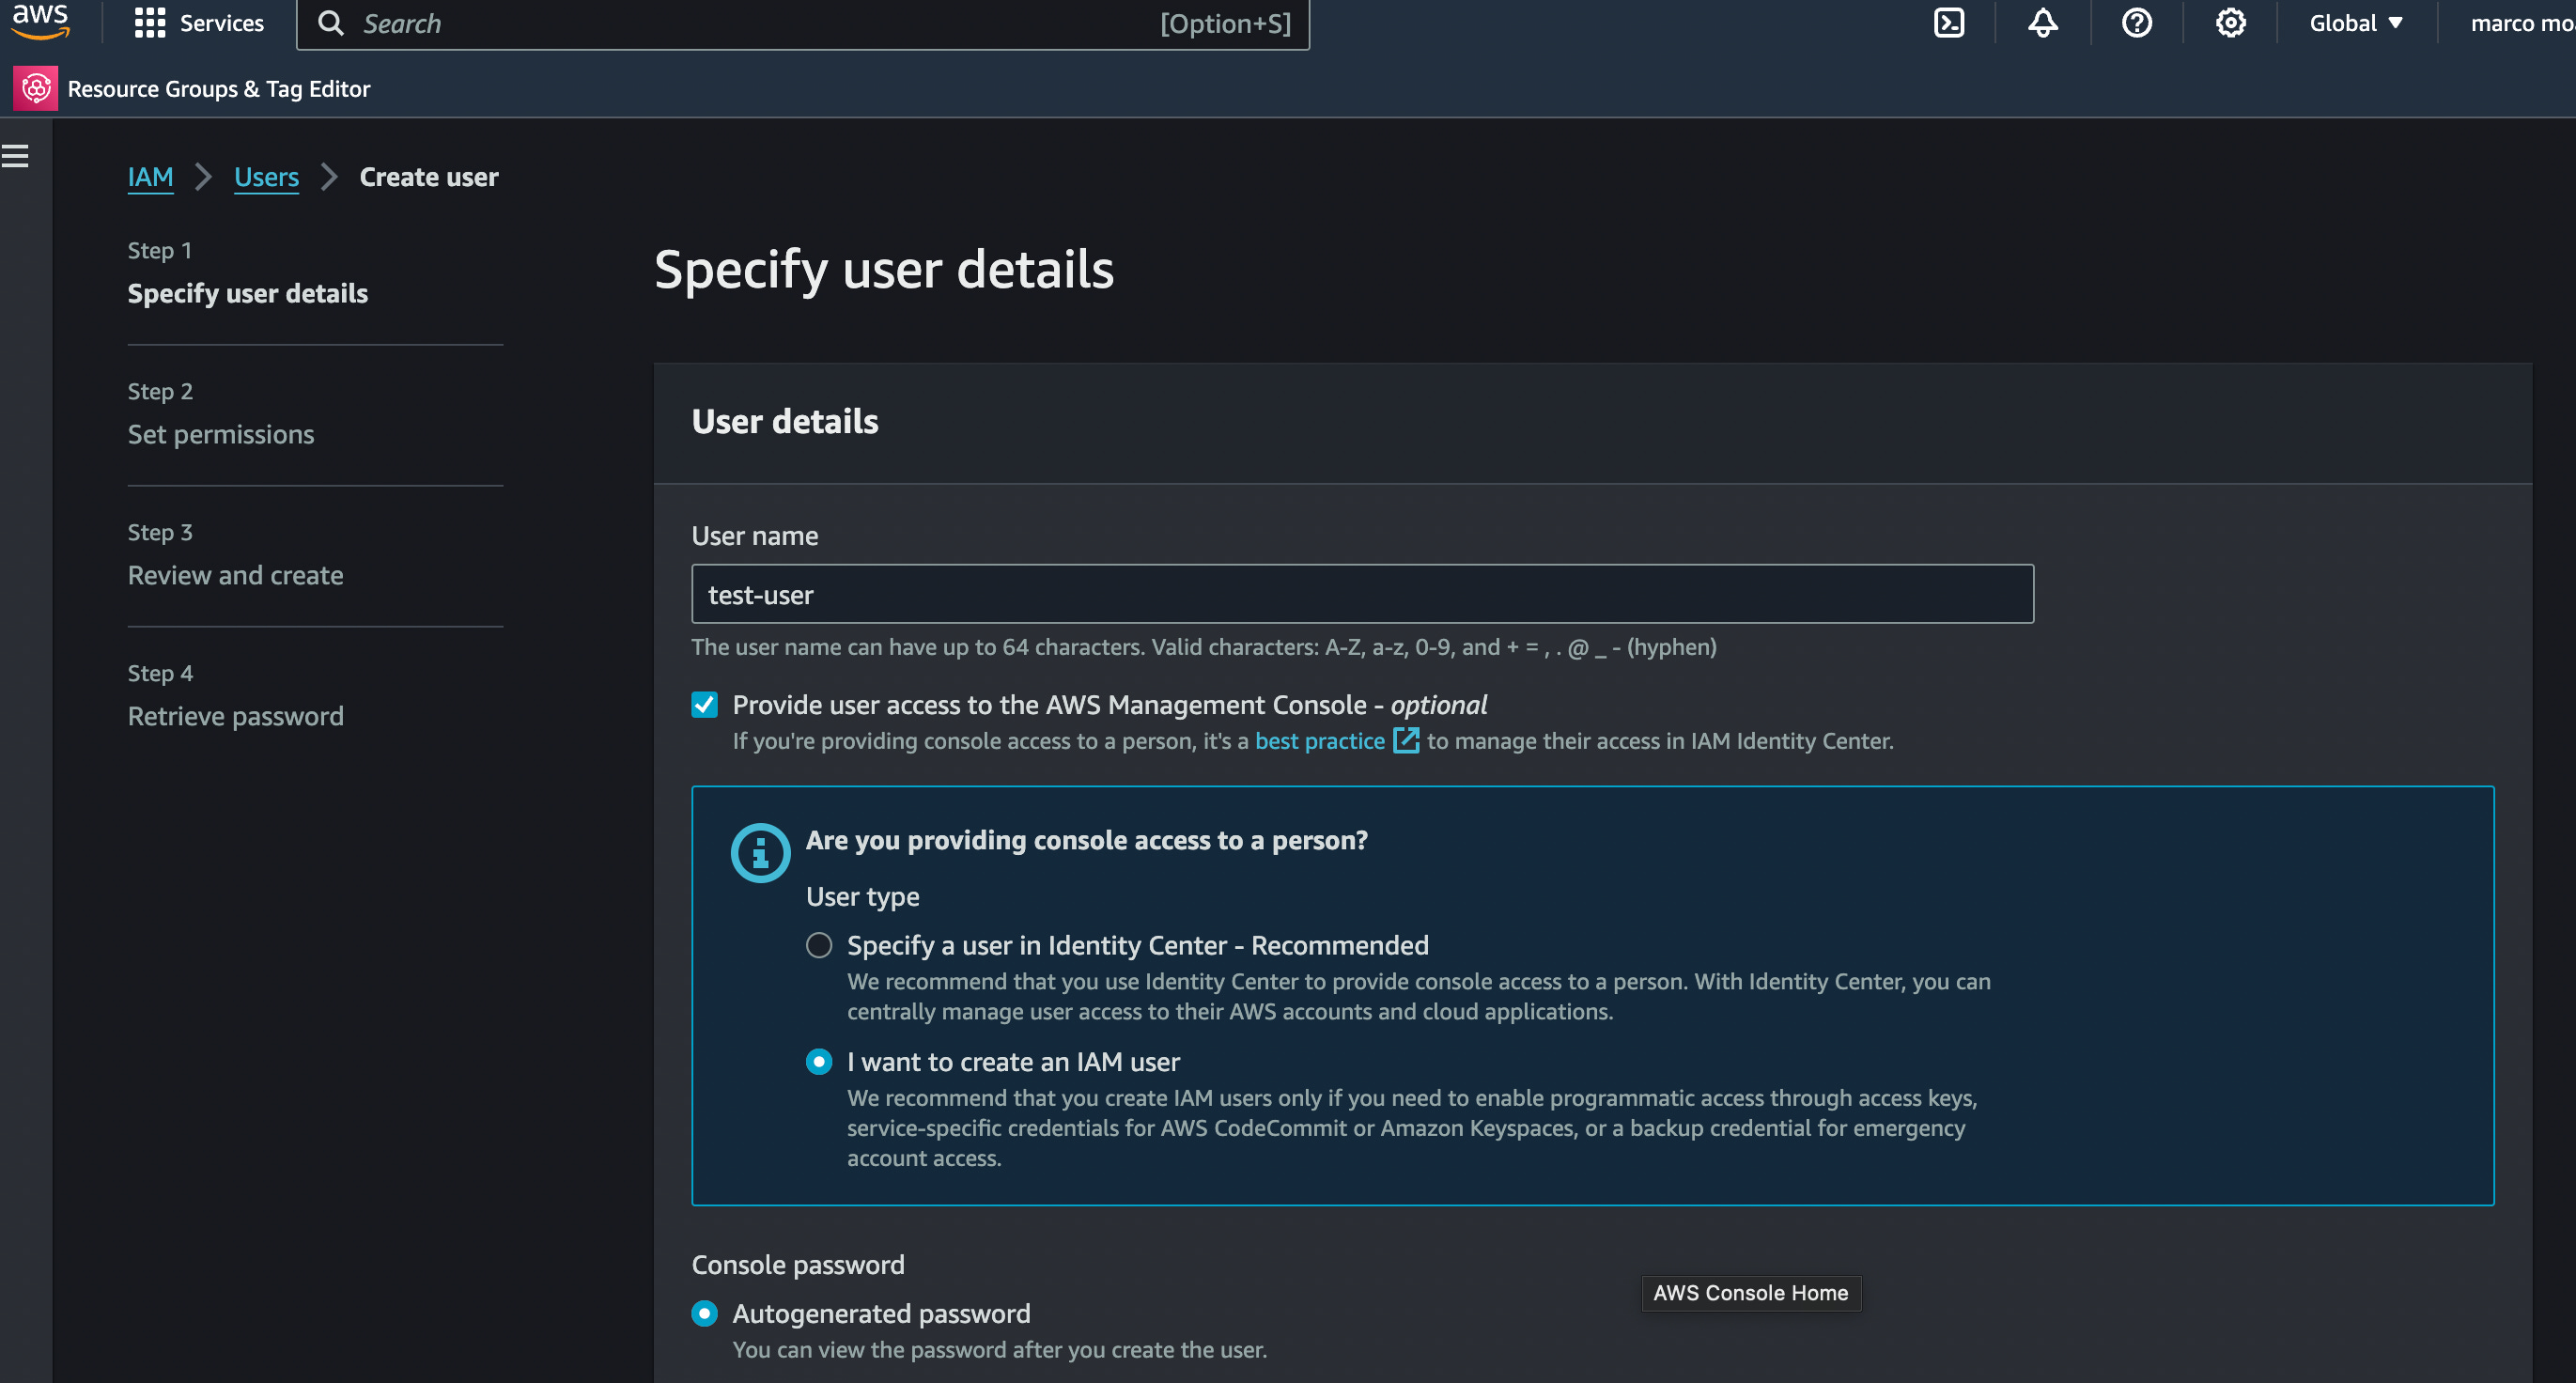
click on Next.
Now we have to configure permissions:
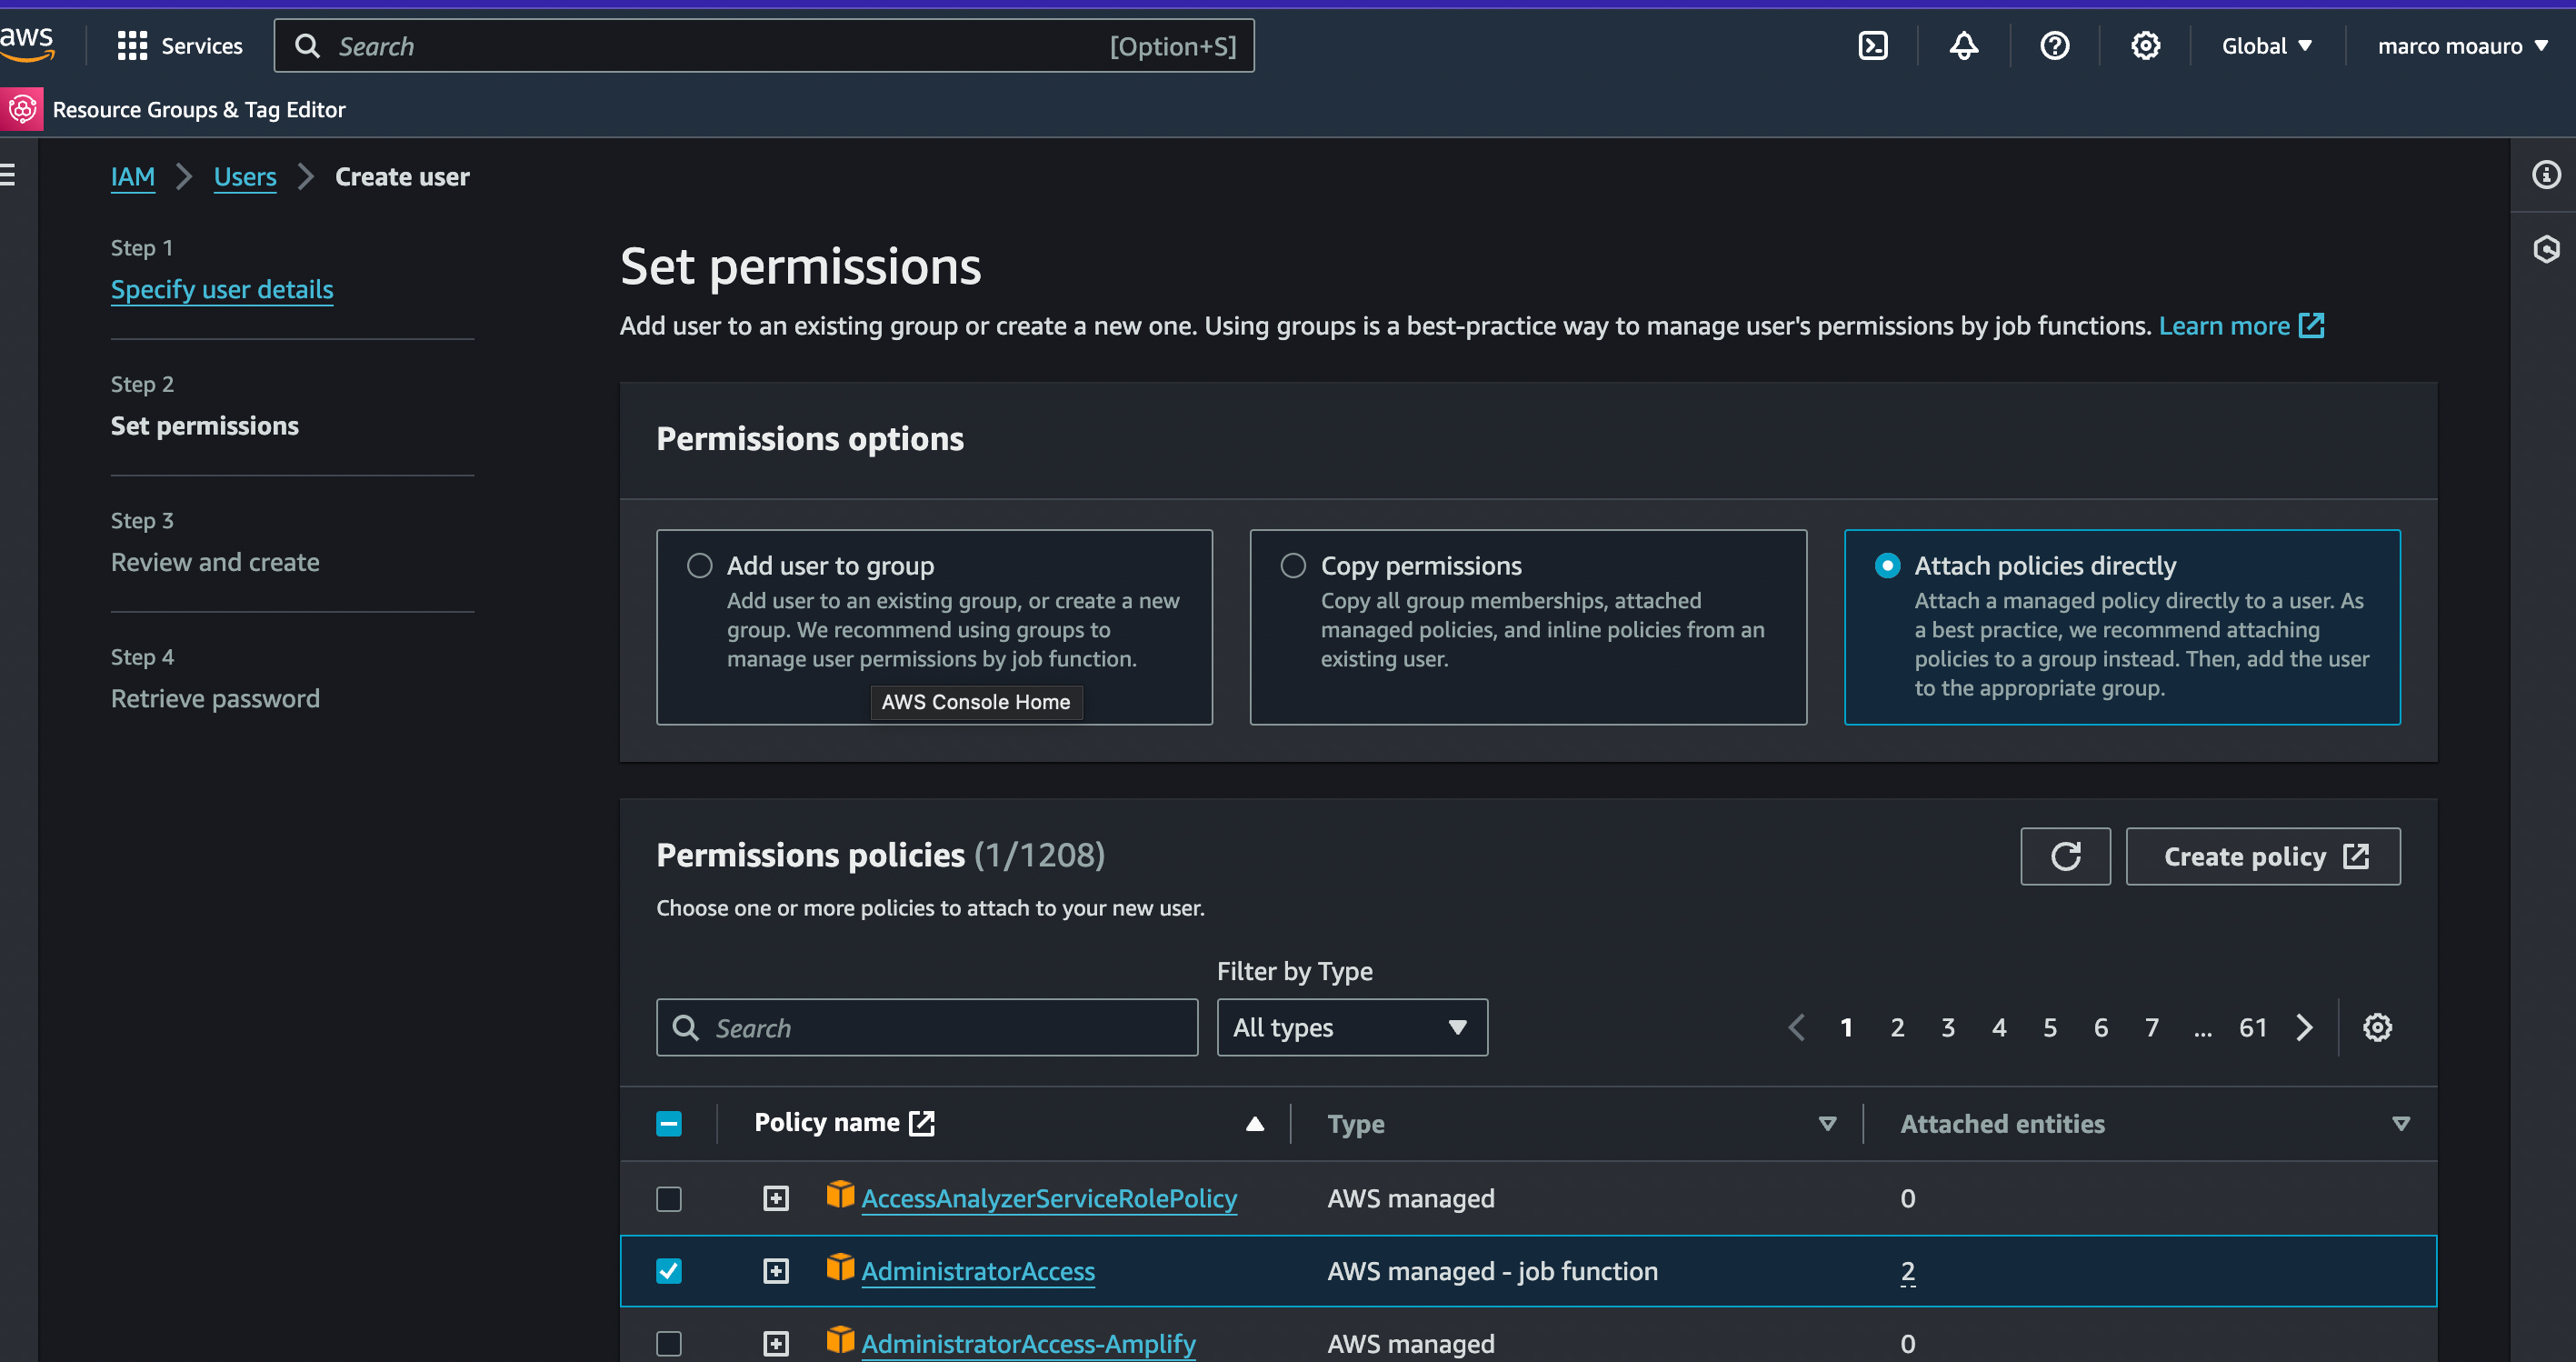
Click on Attach policies directly and select the permission AdministratorAccess which will give admin permission to our new user.
This is not recommended for a production environment, for security reasons it would be ideal to assign only the permissions the user needs to operate.
Press Next and finally Create User.
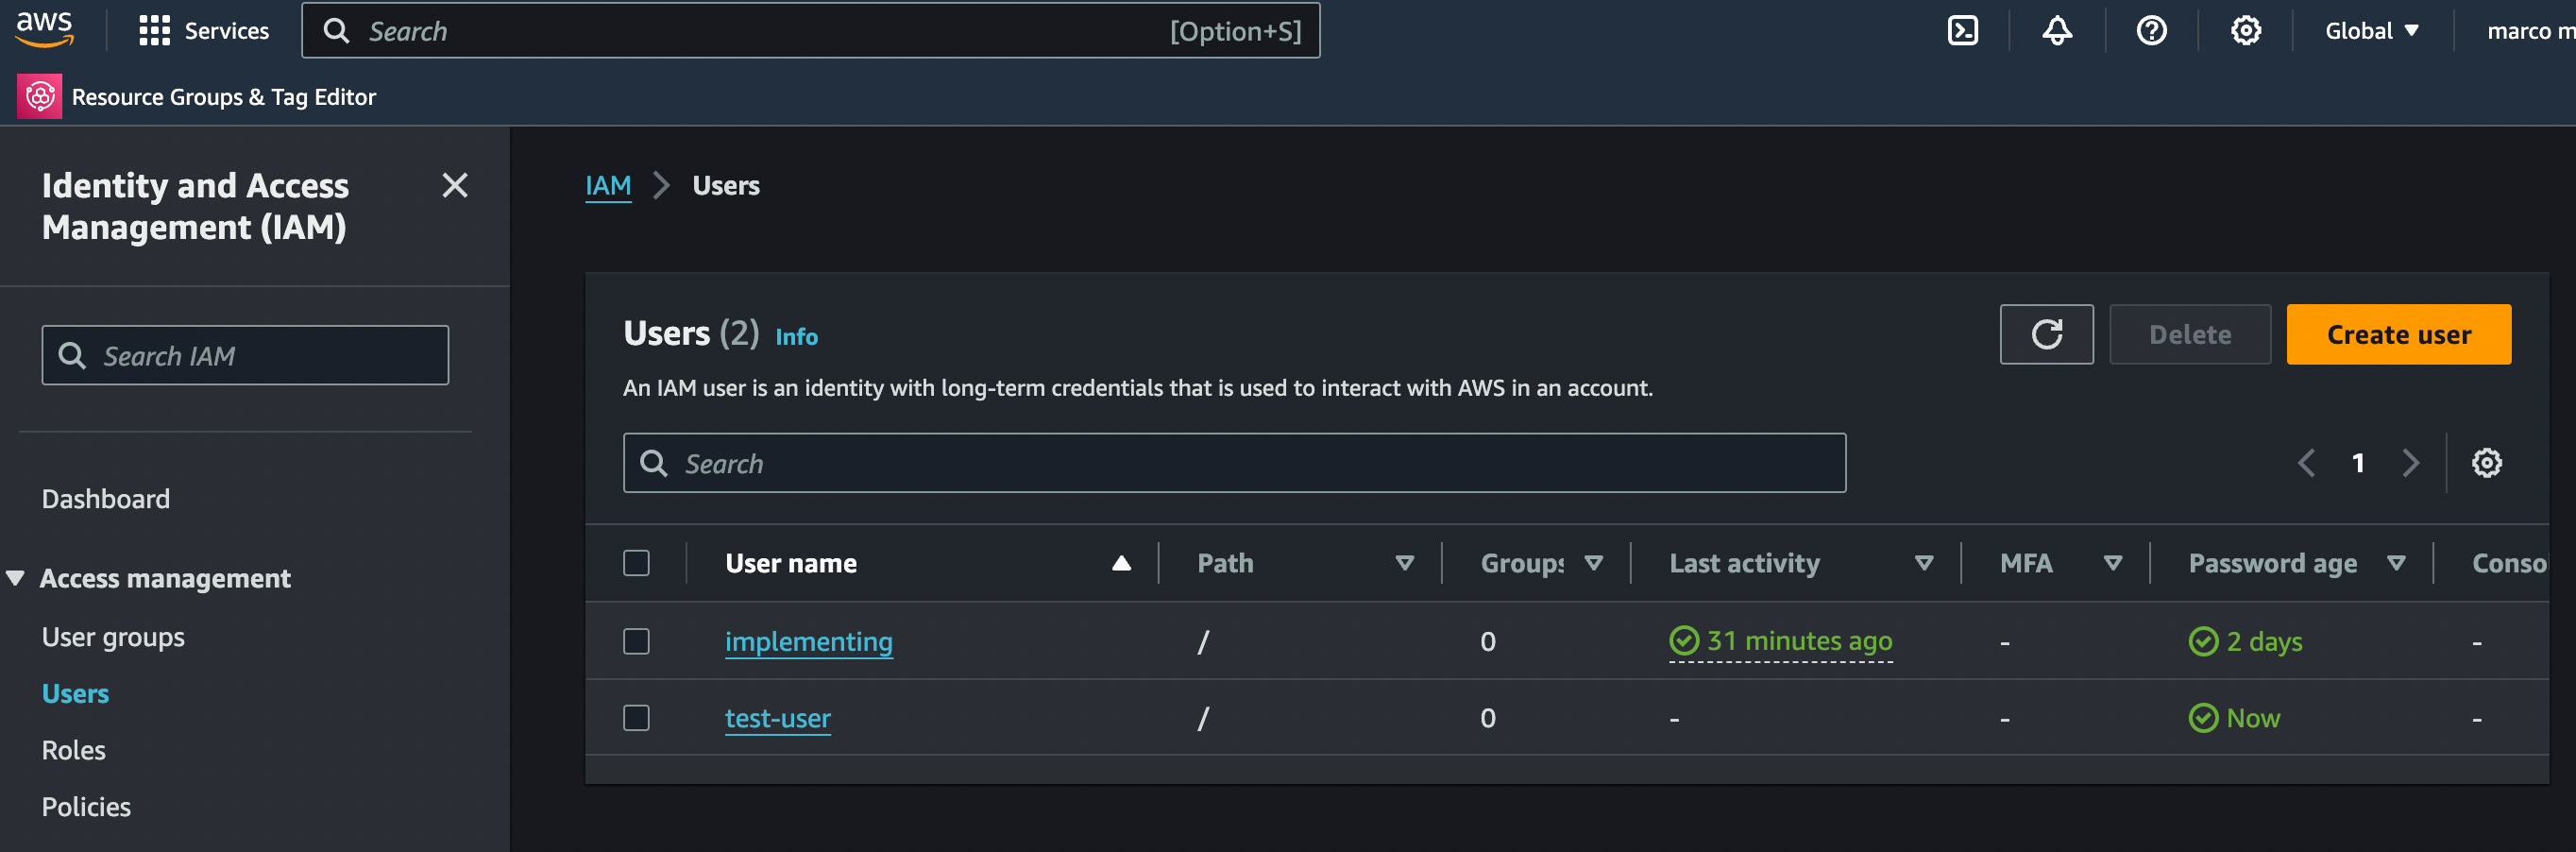
The new user will have appeared on the user list, now what we need to do is create an Access key which will be used to configure the AWS CLI.
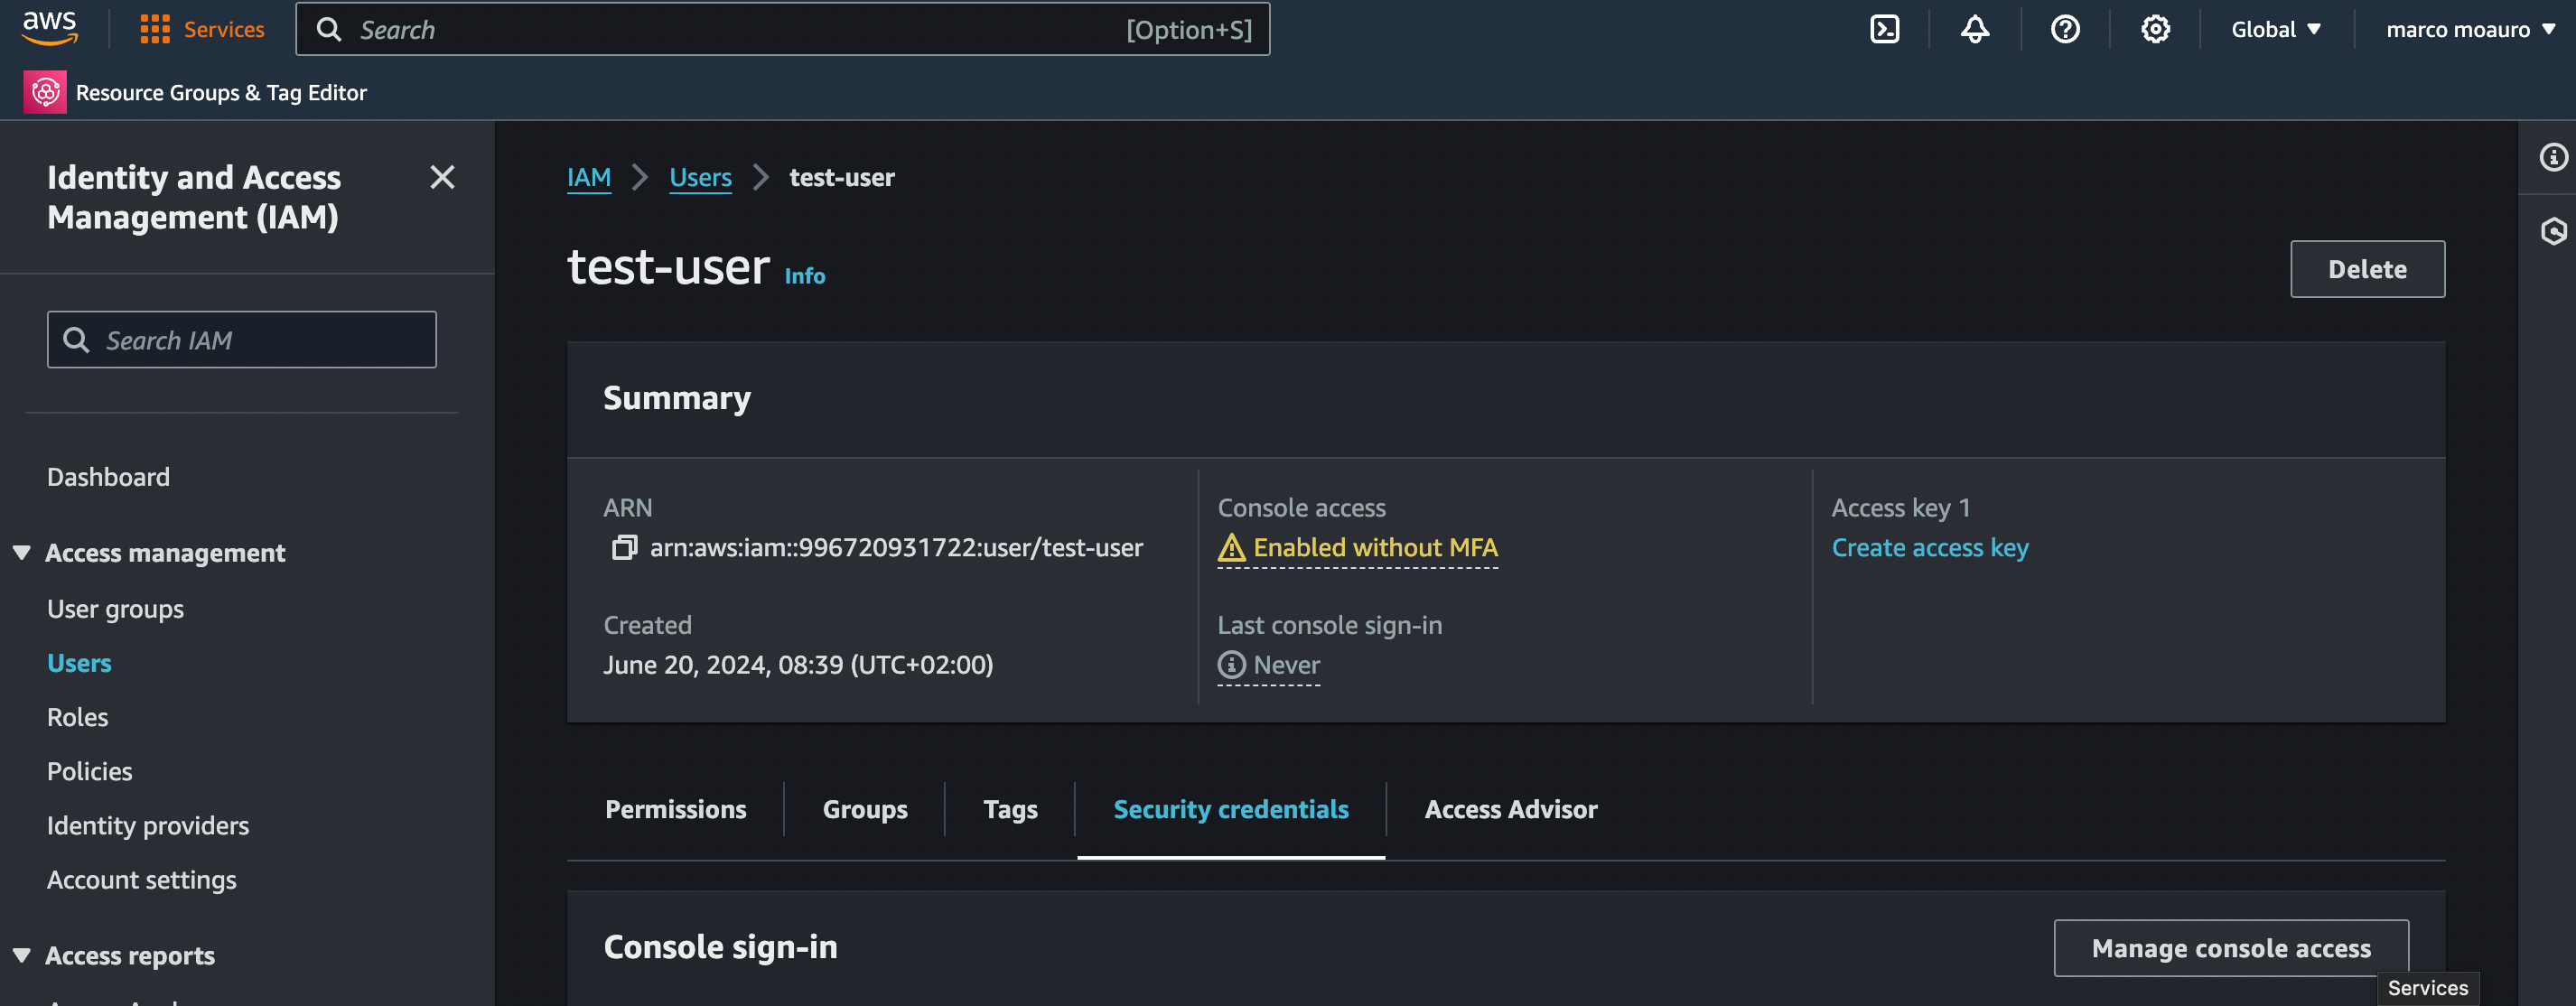
Click on the user, go to the Security credentials tab, go down to the Access keys section and press on Create access key.
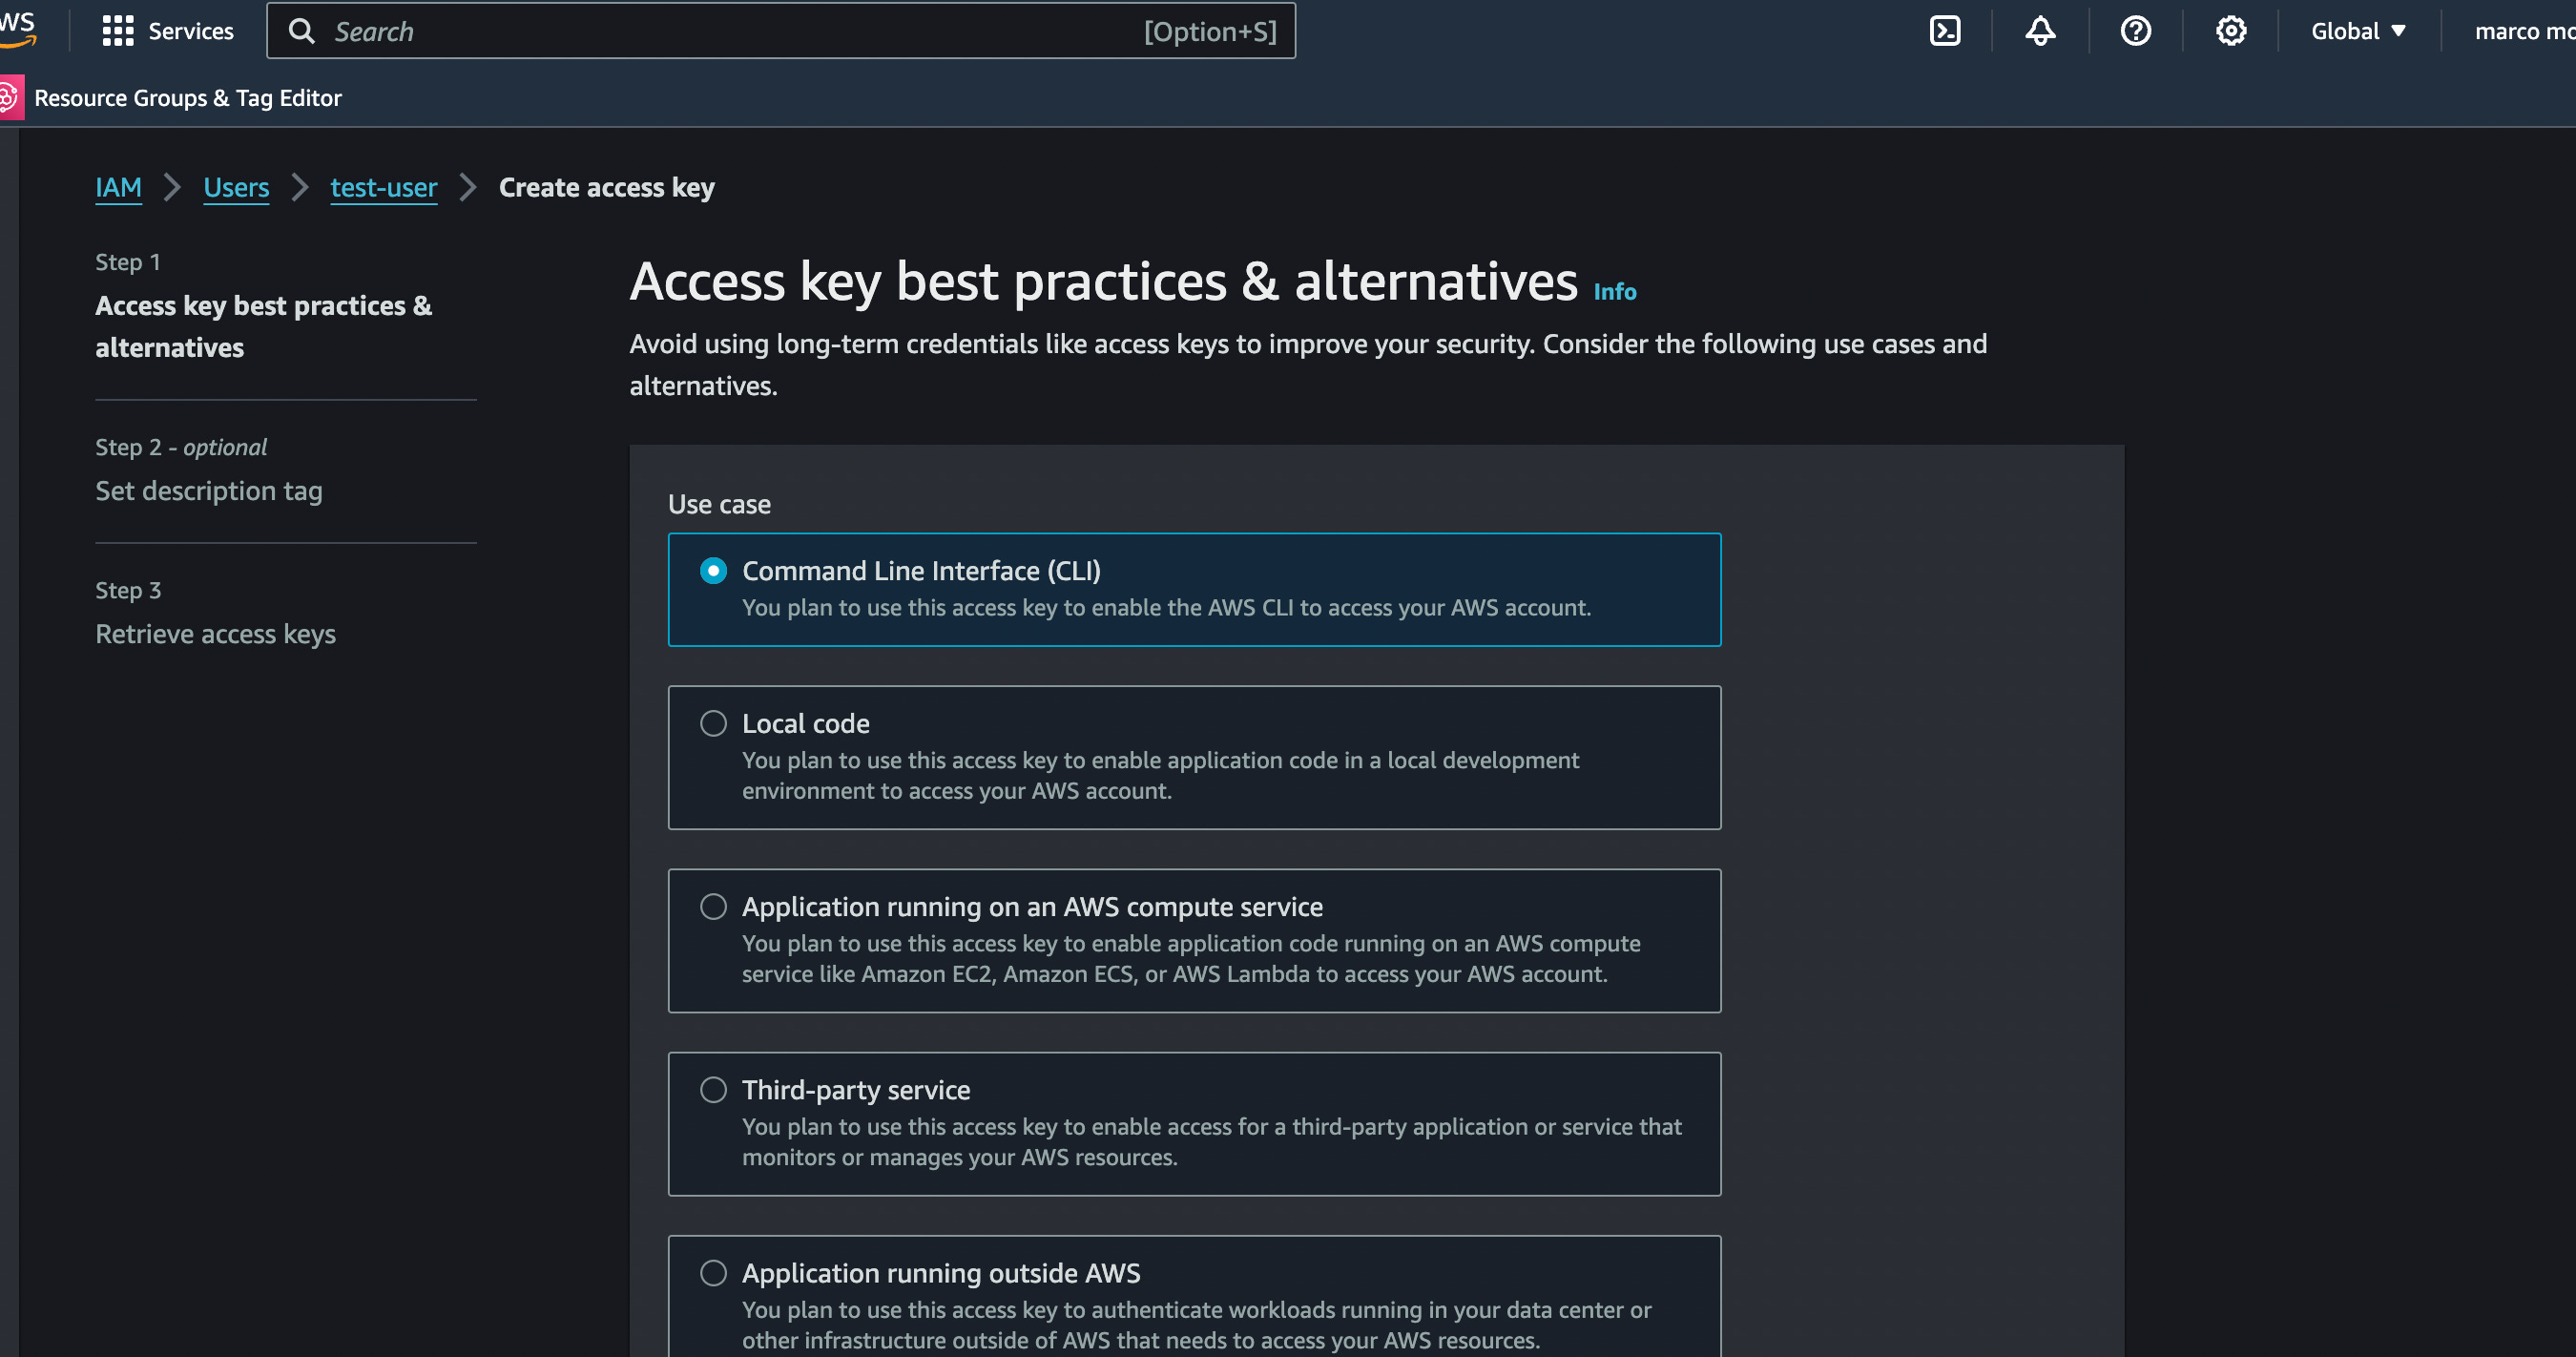
Select Command Line Interface (CLI), press Next and then Create access key.
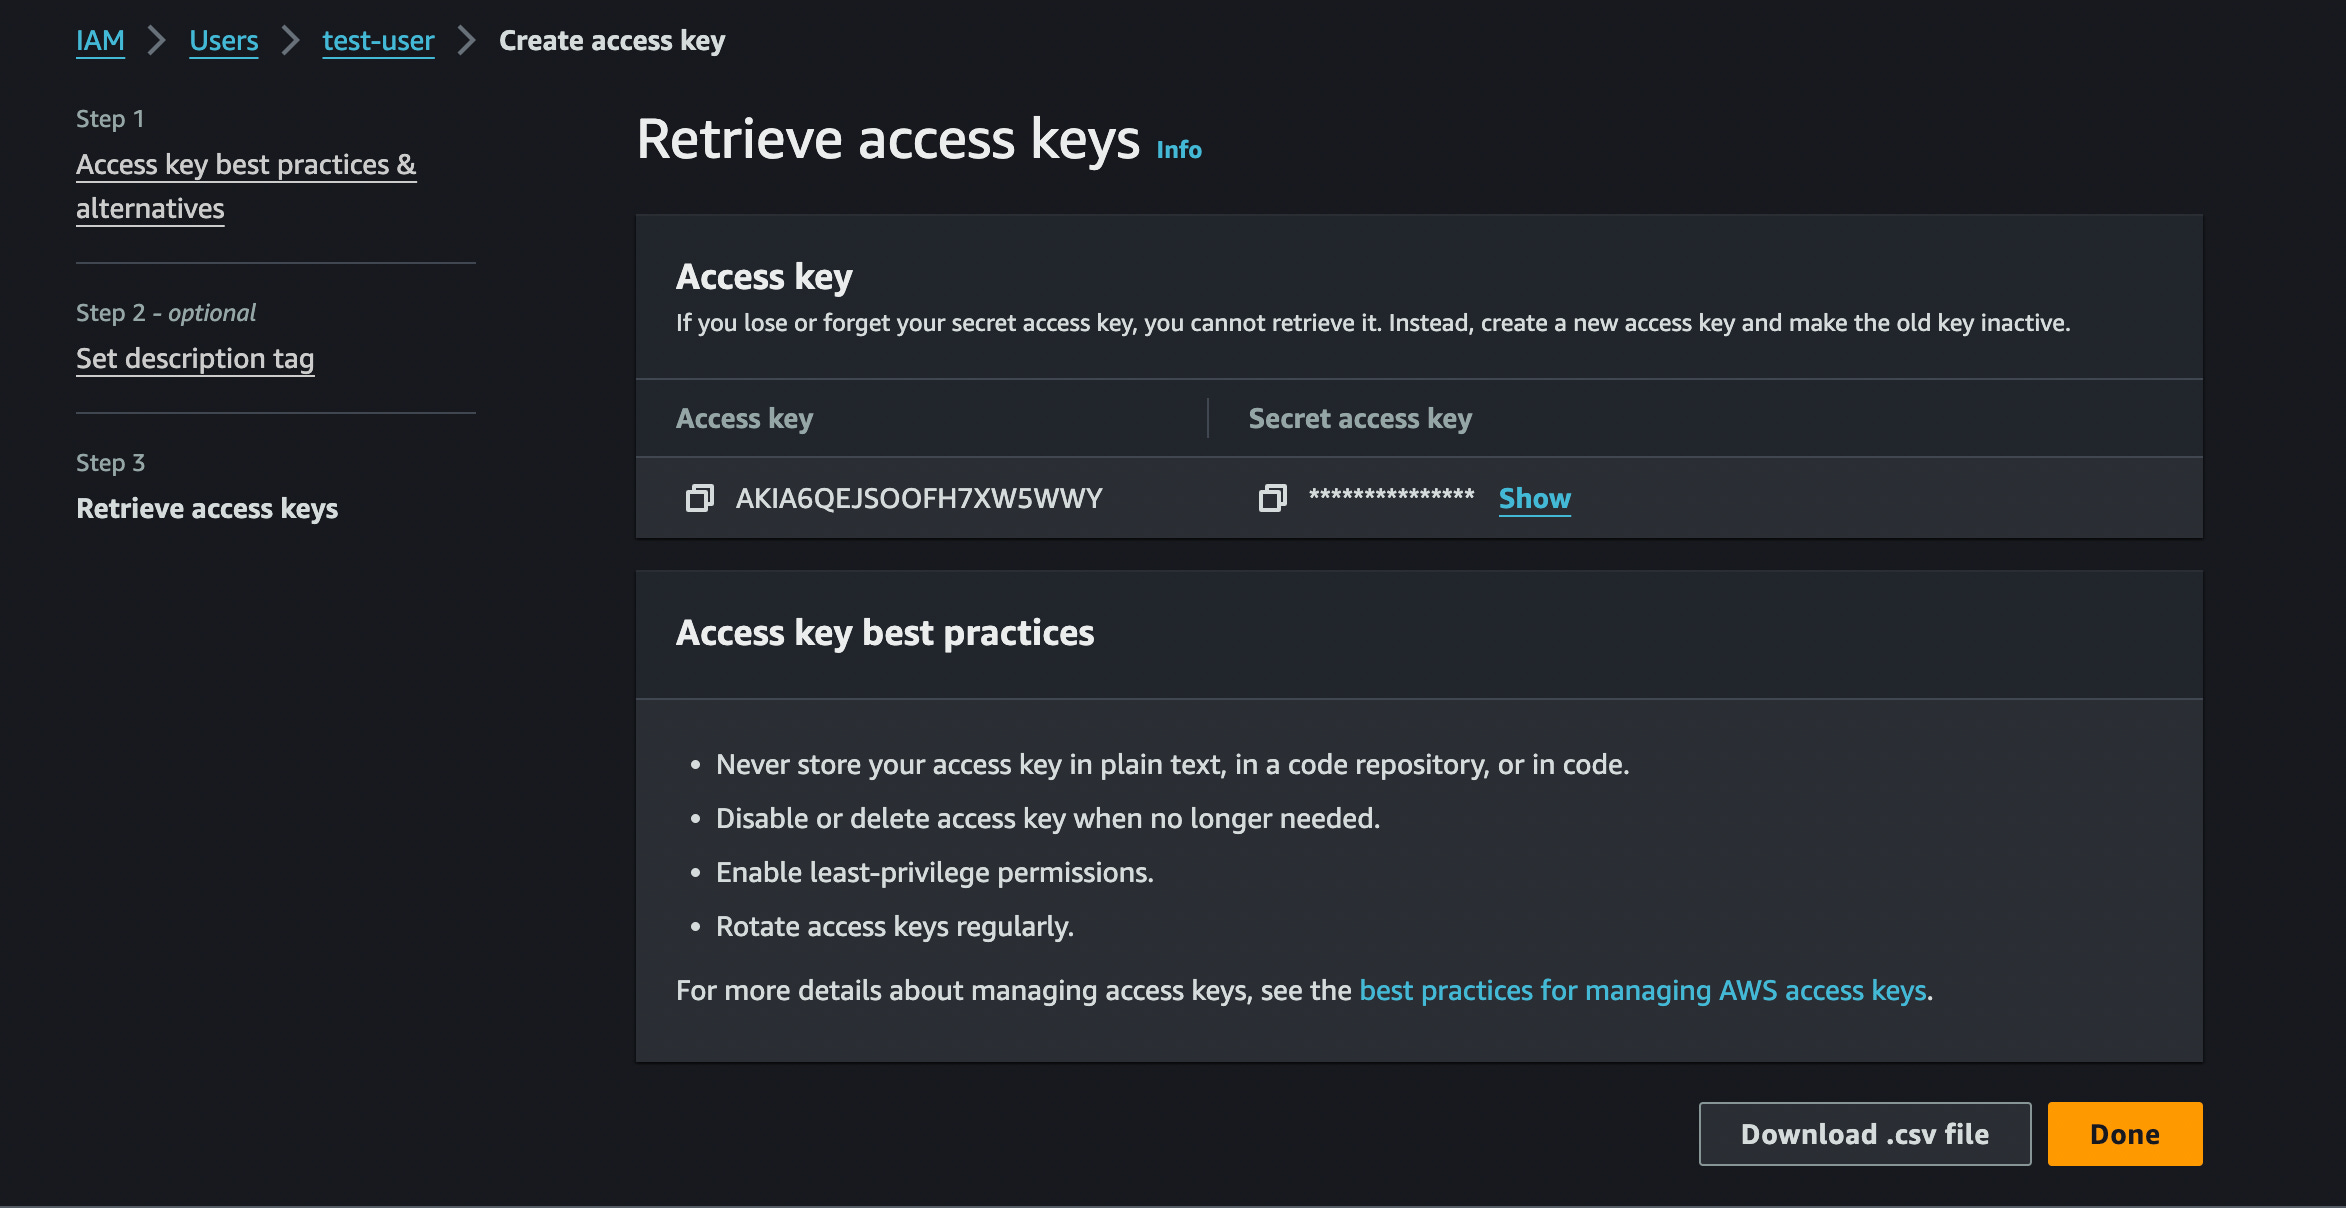
Note the Access key and the Secret acces key, we will need them to configure the AWS CLI.
Now open a new terminal and type:
aws configureand entered in order:
Access key.
Secret access key.
Default region name, in my case I put eu-west-1.
Default output format: YAML, I prefer it over JSON.
In this way, it will be possible to interact with AWS via the CLI by impersonating the new user created via the access key.
🆓 AWS Free tier usage alerts activation
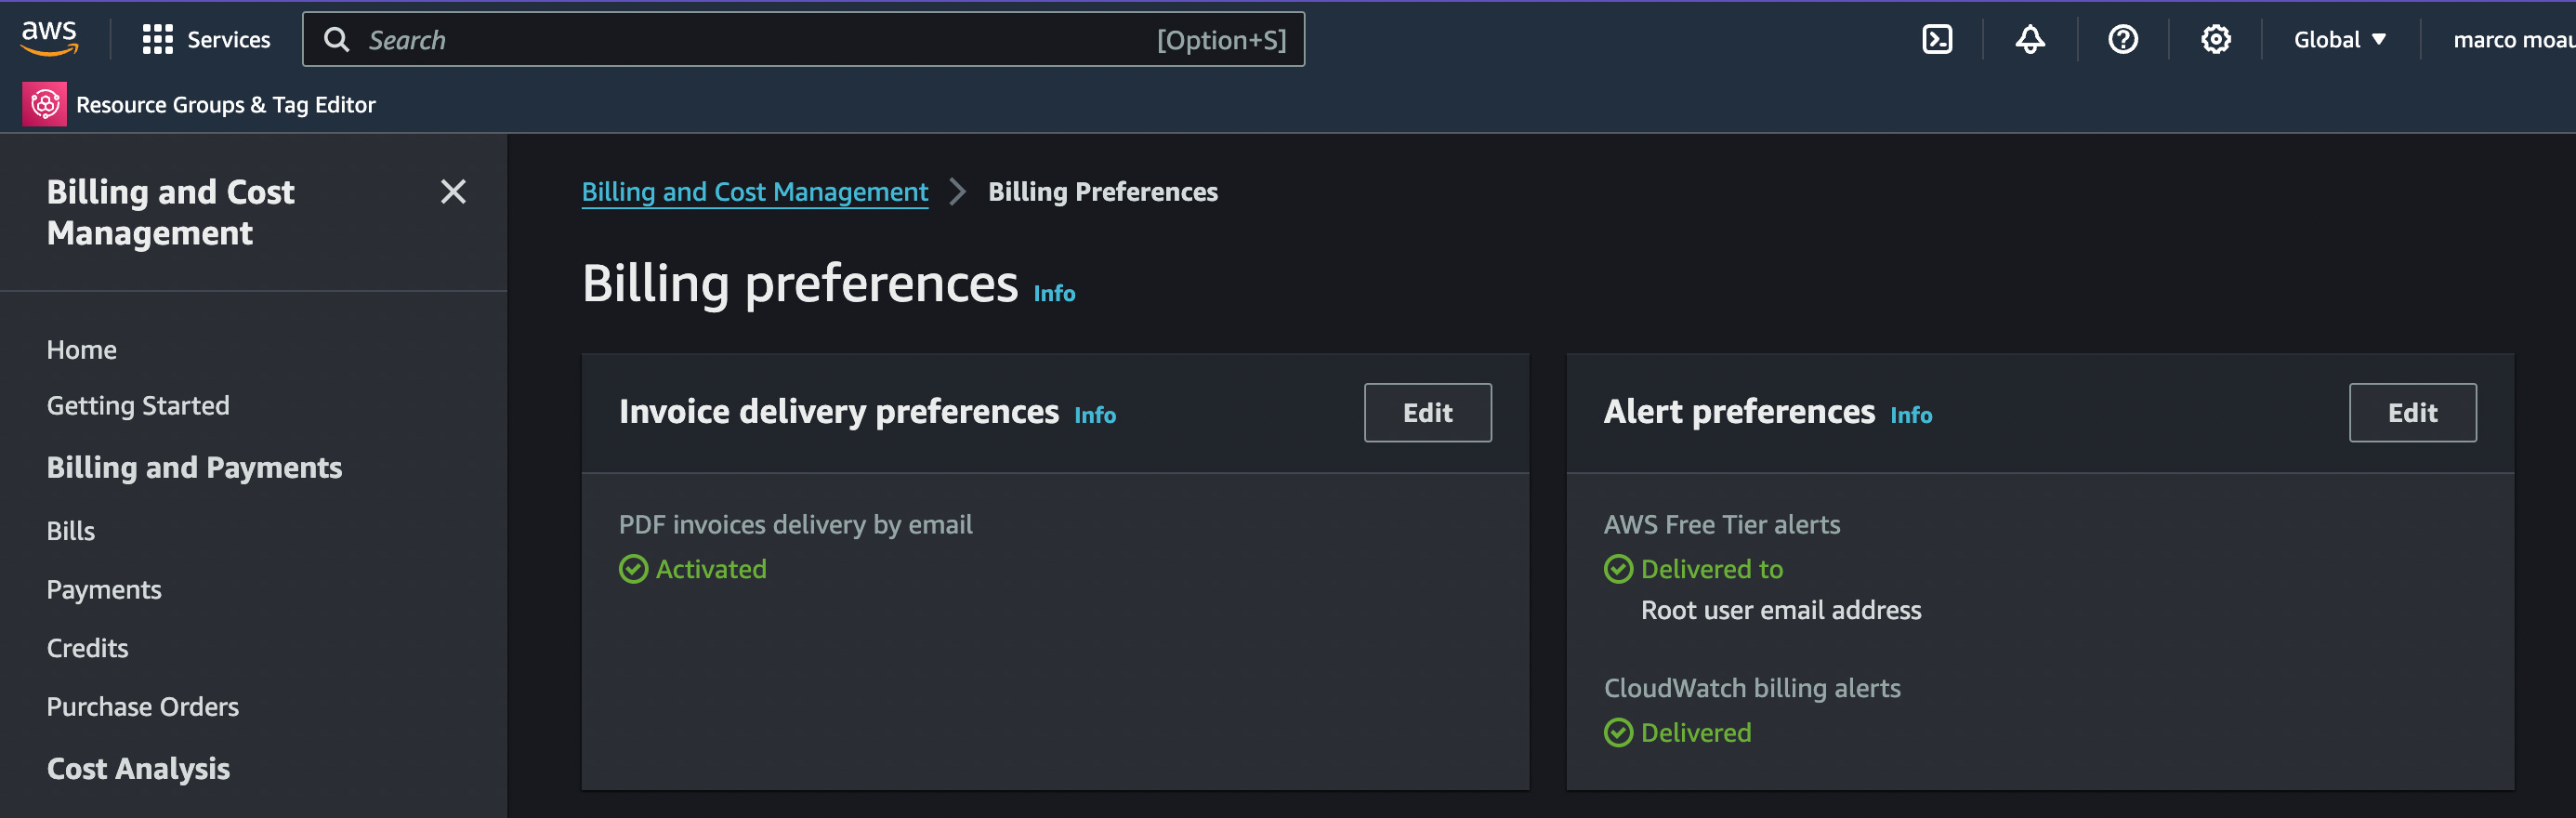
We proceed to activate the option that will notify us when the service charge forecast exceeds the free threshold.
Go to the Billing and cost management service, click on the Billing preferences sidebar and activate the alert via the Alert preferences box.
💰 AWS budget creation
let's define a budget, that way we can avoid spending more money than we had set aside.
Go to the Billing and cost management service and click on the Budgets sidebar.
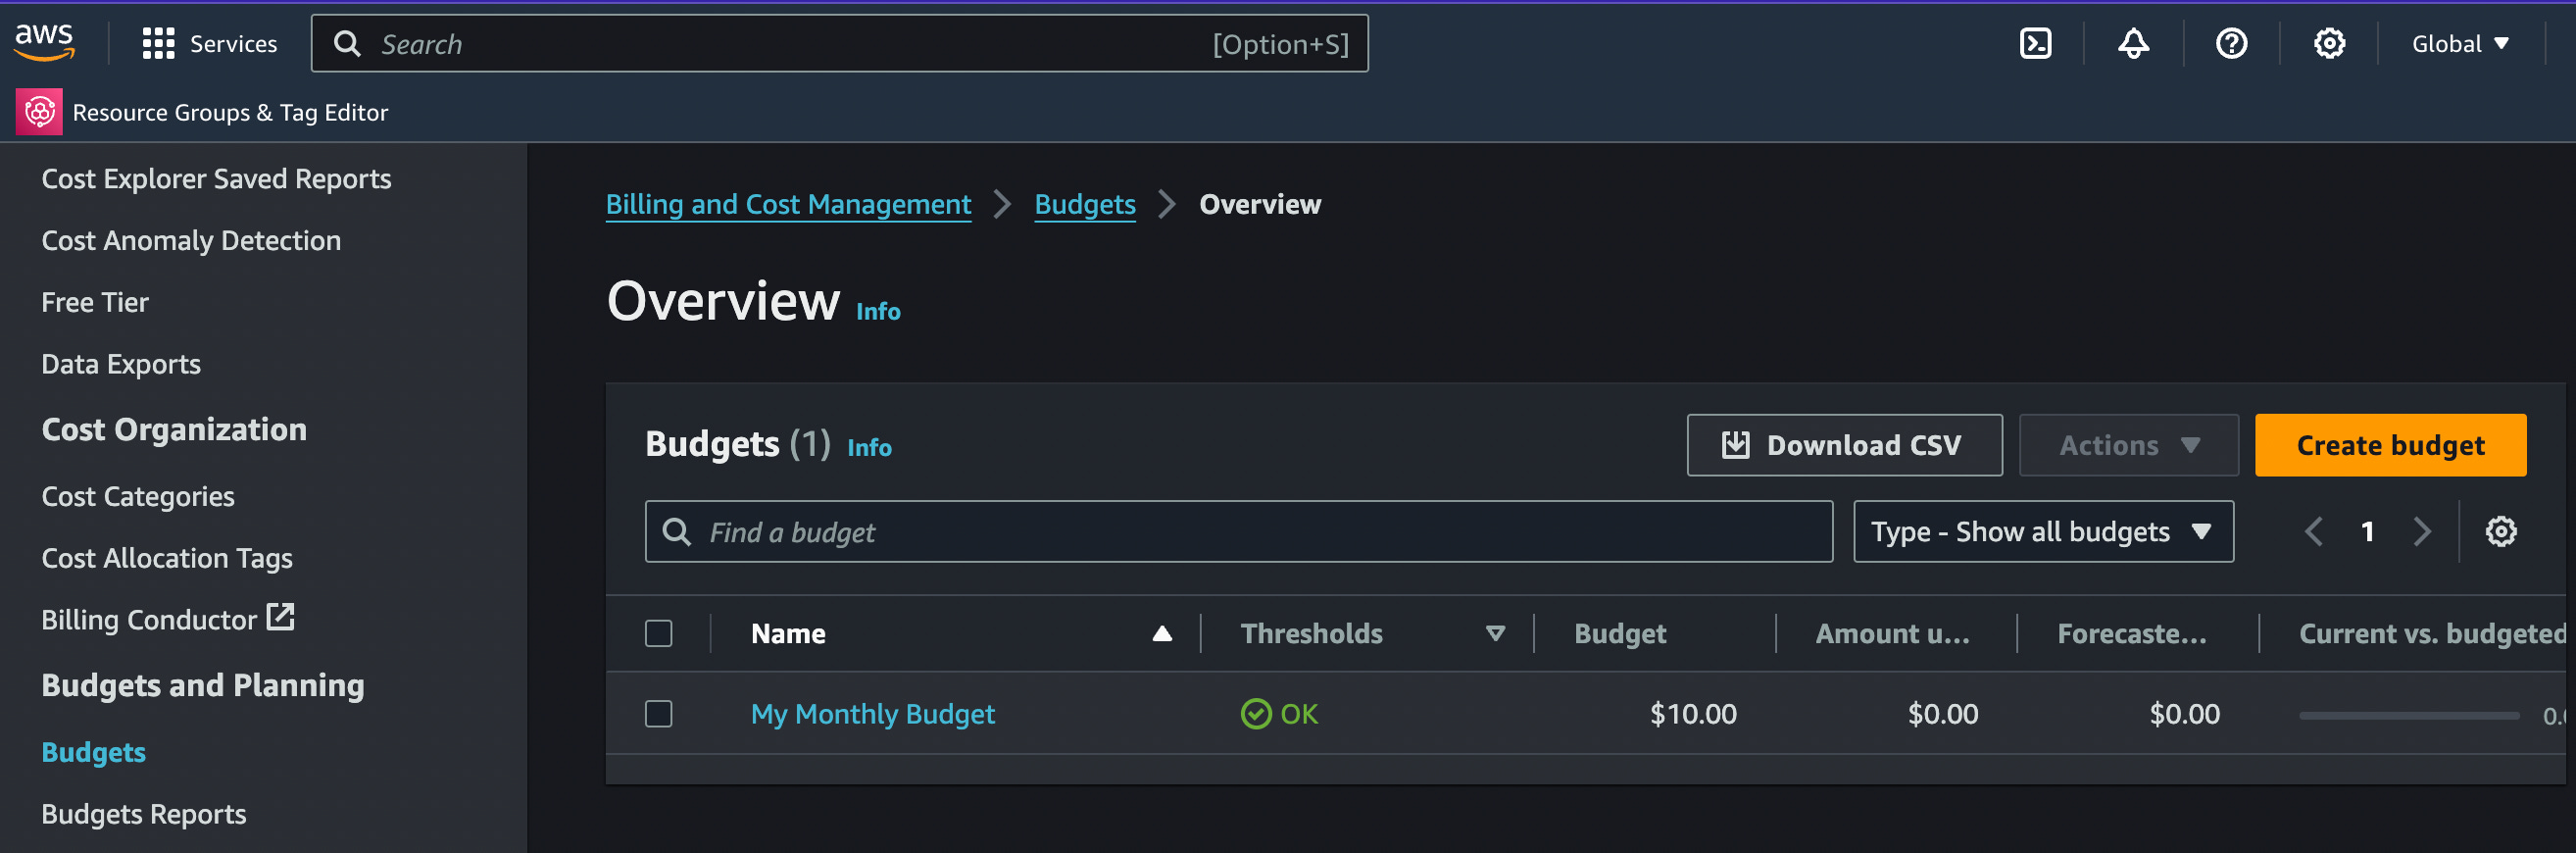
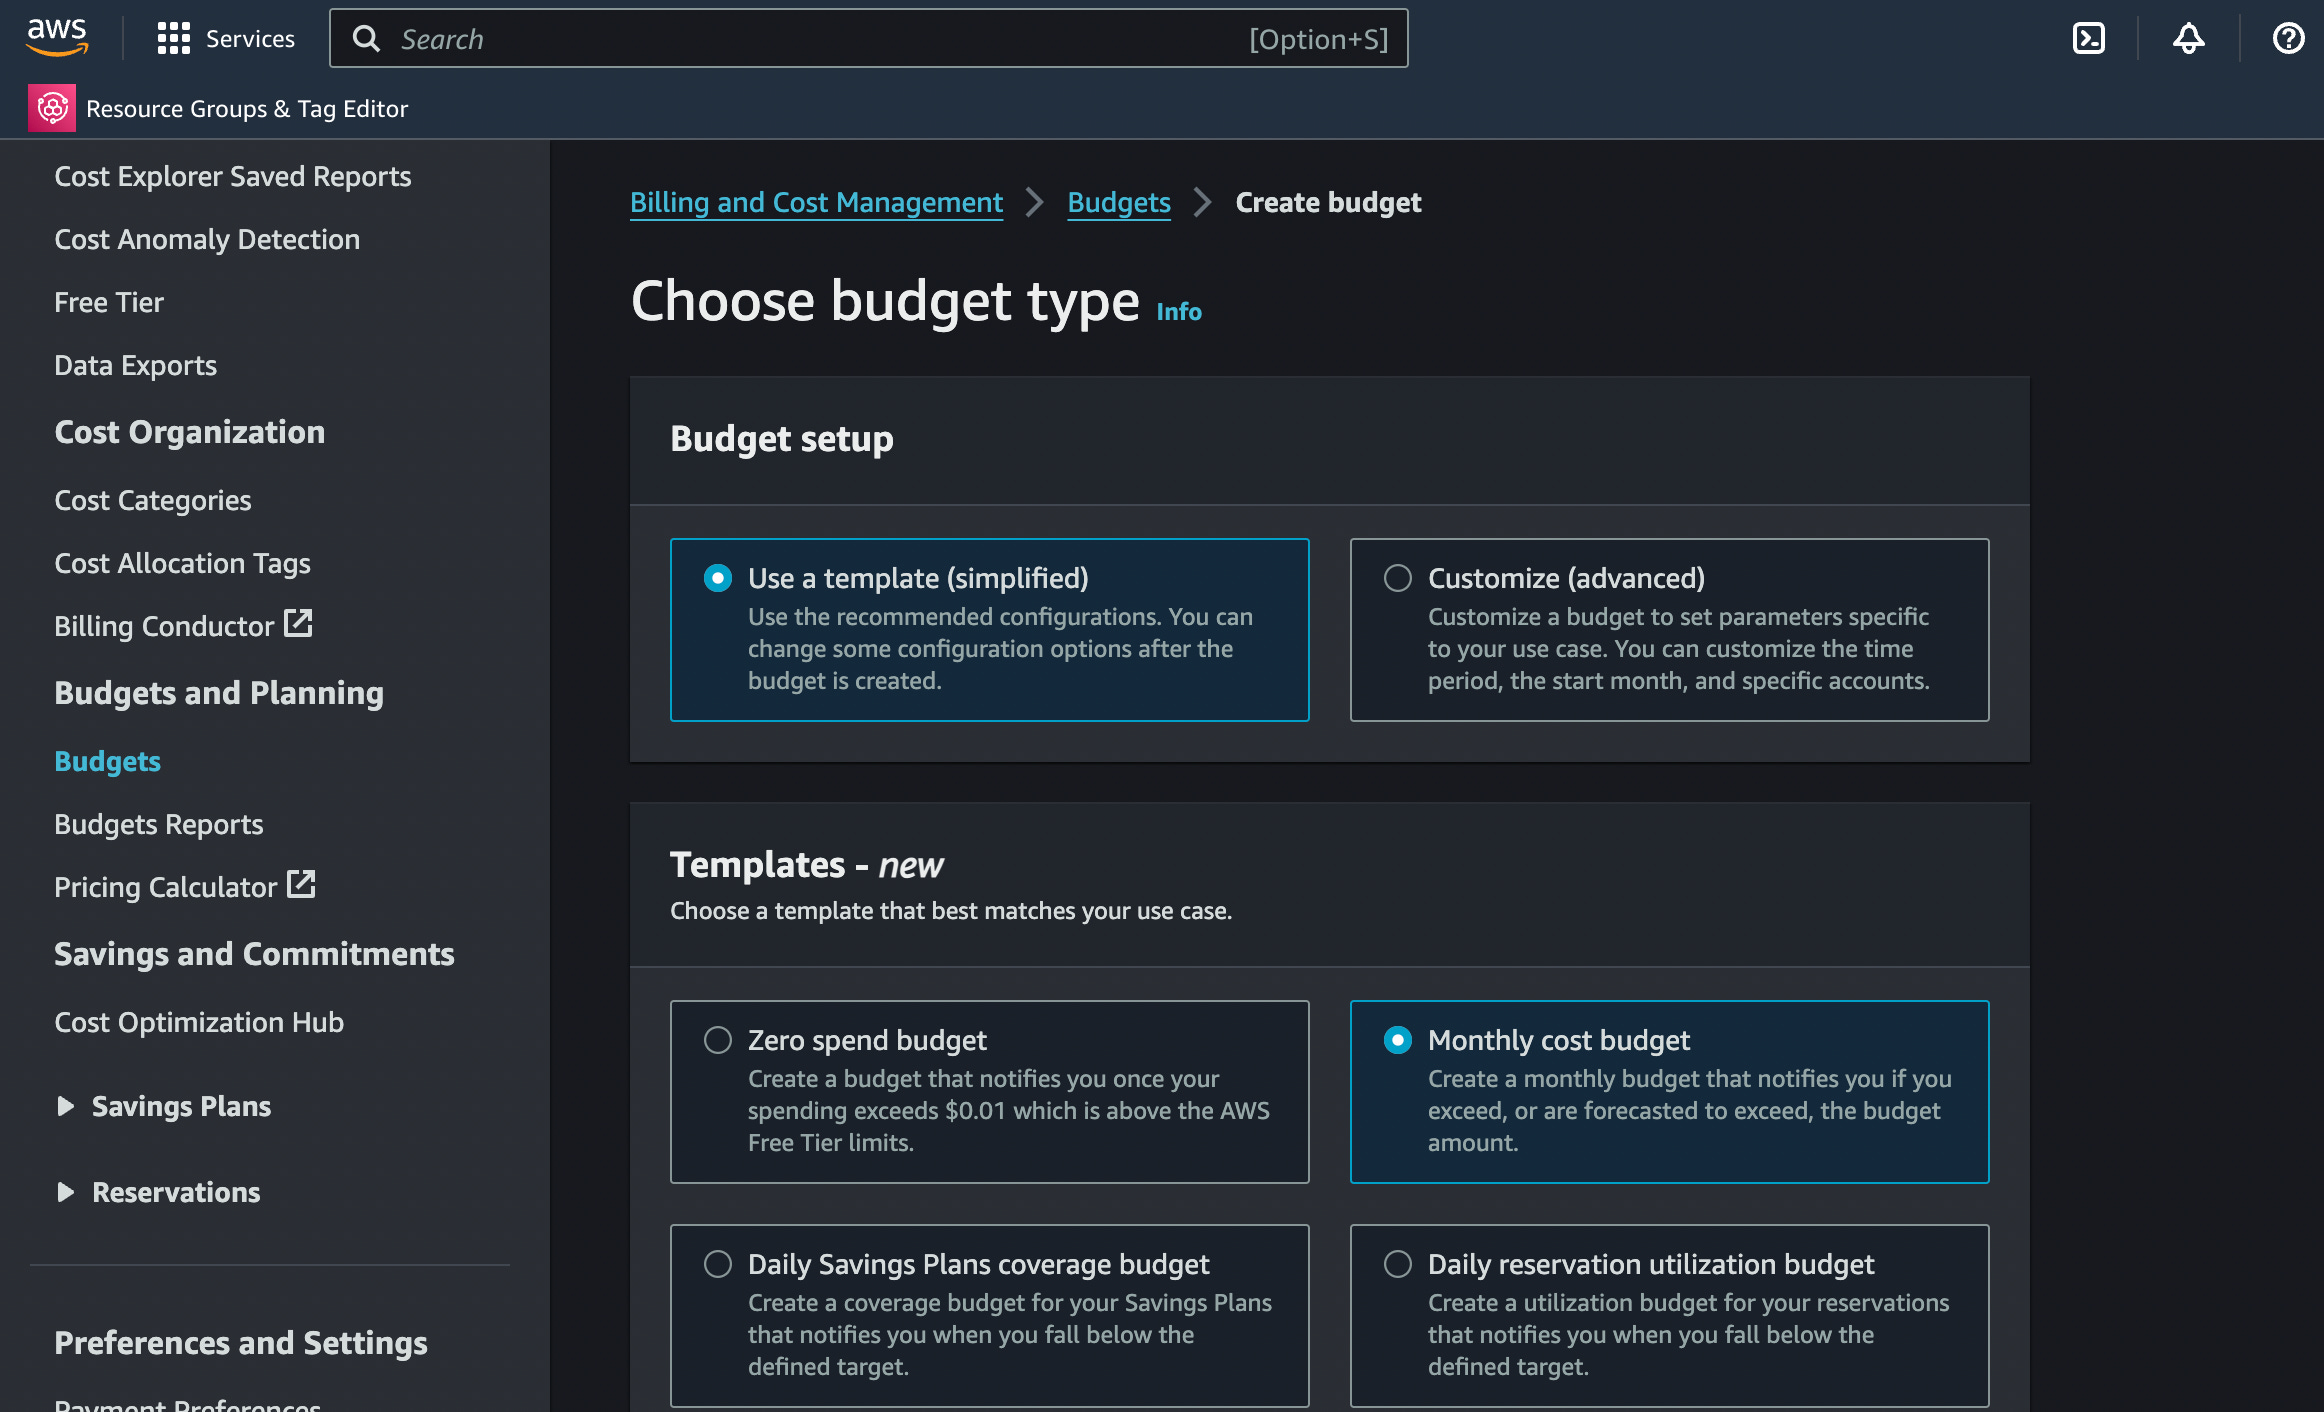
Click on Create budget, choose Use a template and Monthly cost budget, enter your monthly budget, the e-mail where you want to be notified and confirm by pressing the Create budget button.
You will be notified when:
Your actual spend reaches 85%.
Your actual spend reaches 100%.
If your forecasted spend is expected to reach 100%.
🌟 Top lectures of the week
How to Write Cleaner Code with Ternary Operators.
🍔🧠 GitHub Push: What Happens Behind the Scenes
Become the go-to engineer in your organization
How I track long running goals
And that’s it for today! If you are finding this newsletter valuable, consider doing any of these:
🍻 Read with your friends — Implementing lives thanks to word of mouth. Share the article with someone who would like it.
📣 Provide your feedback — We welcome your thoughts! Please share your opinions or suggestions for improving the newsletter, your input helps us adapt the content to your tastes.
💬 Chat with me — If you have any doubts or curiosity, please write to me, I will be happy to answer you!
I wish you a great day! ☀️
Marco
Nice article! Setting up cost notifications is always crucial, especially for personal pet projects 😁
Thanks for the mention 😁